Last Updated May 12th, 2023 at 06:14 pm by Lisa
Make a DIY Ice Bucket for your party and add instant style to your celebration. Chill beverages, wine, or champagne bottles to fit your party theme!
Place it somewhere so the melting ice water can neatly drip into your backyard or garden. Have fun and get creative using flowers, herbs, sliced fruit, or greenery in this gorgeous party wine chiller...
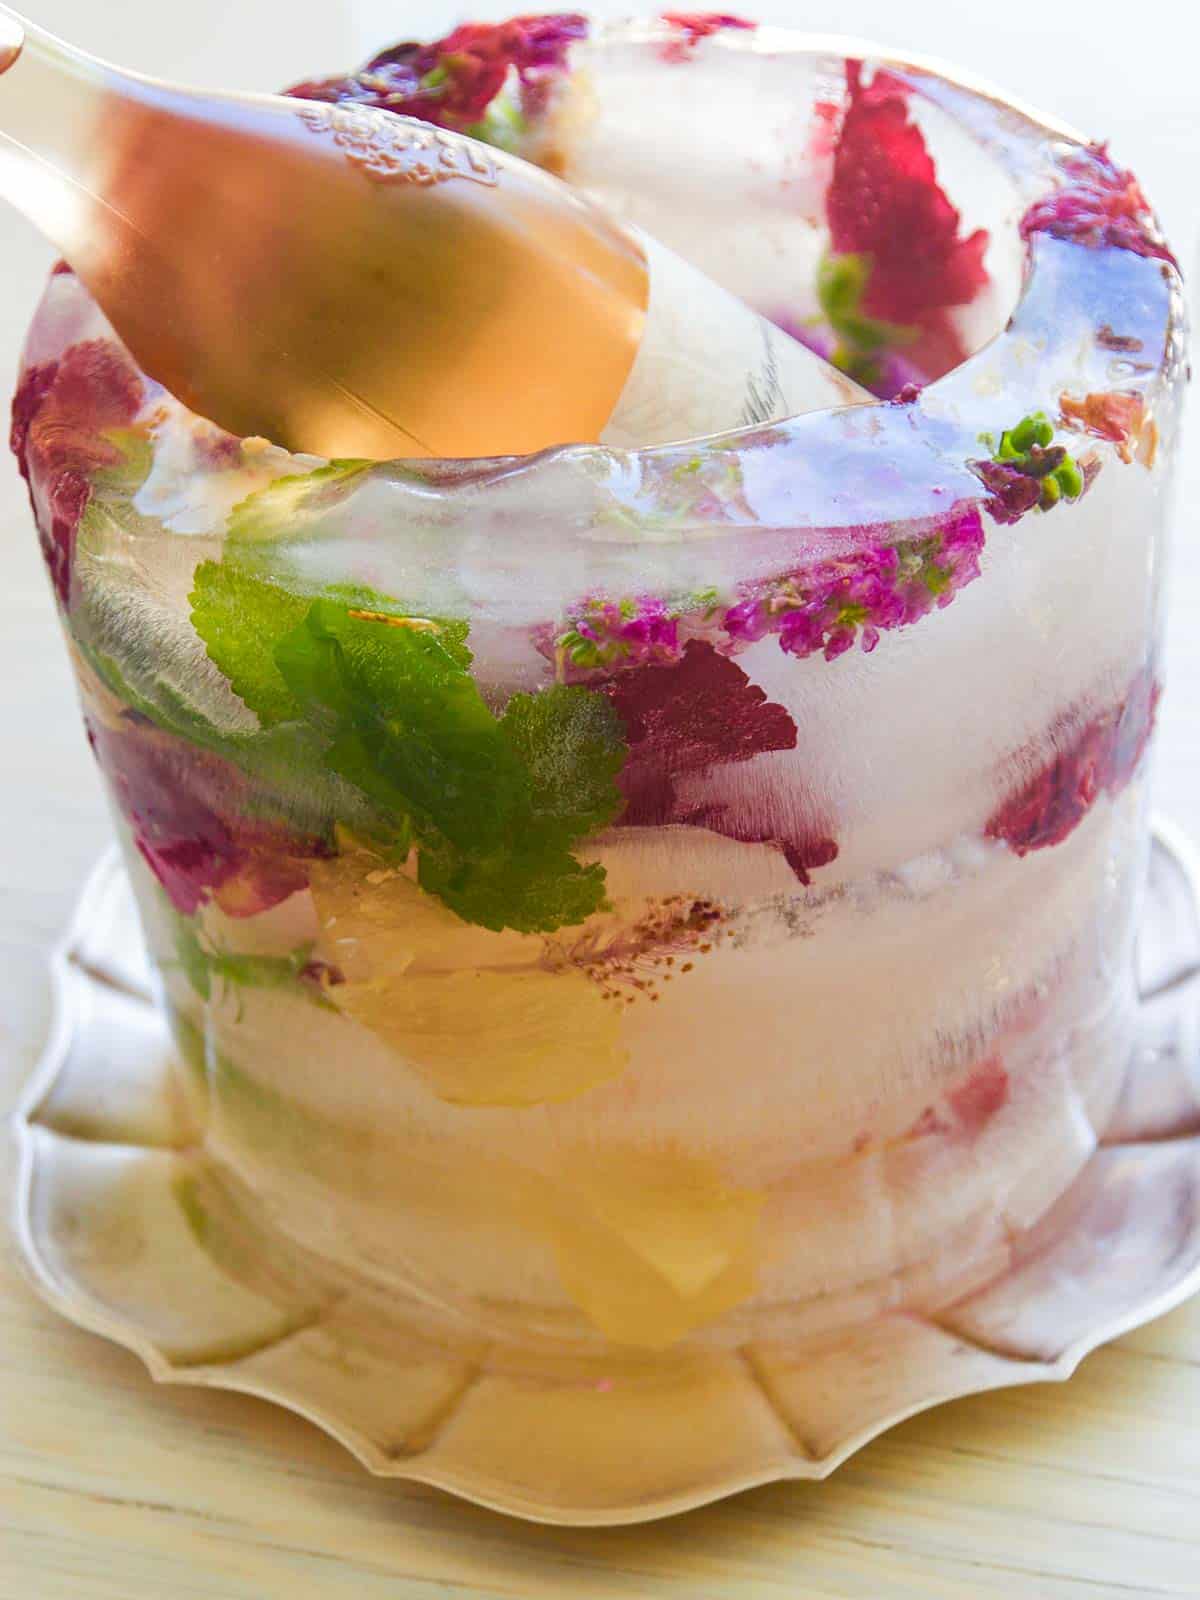
A handmade wine bottle chiller is so much fun to have at a backyard party, bridal shower, graduation, Mother's Day, or cookout celebration.
I put one out for a family birthday party, and it lasted about 3 hours. People just loved it, and honestly, the wine was long gone way before it melted!
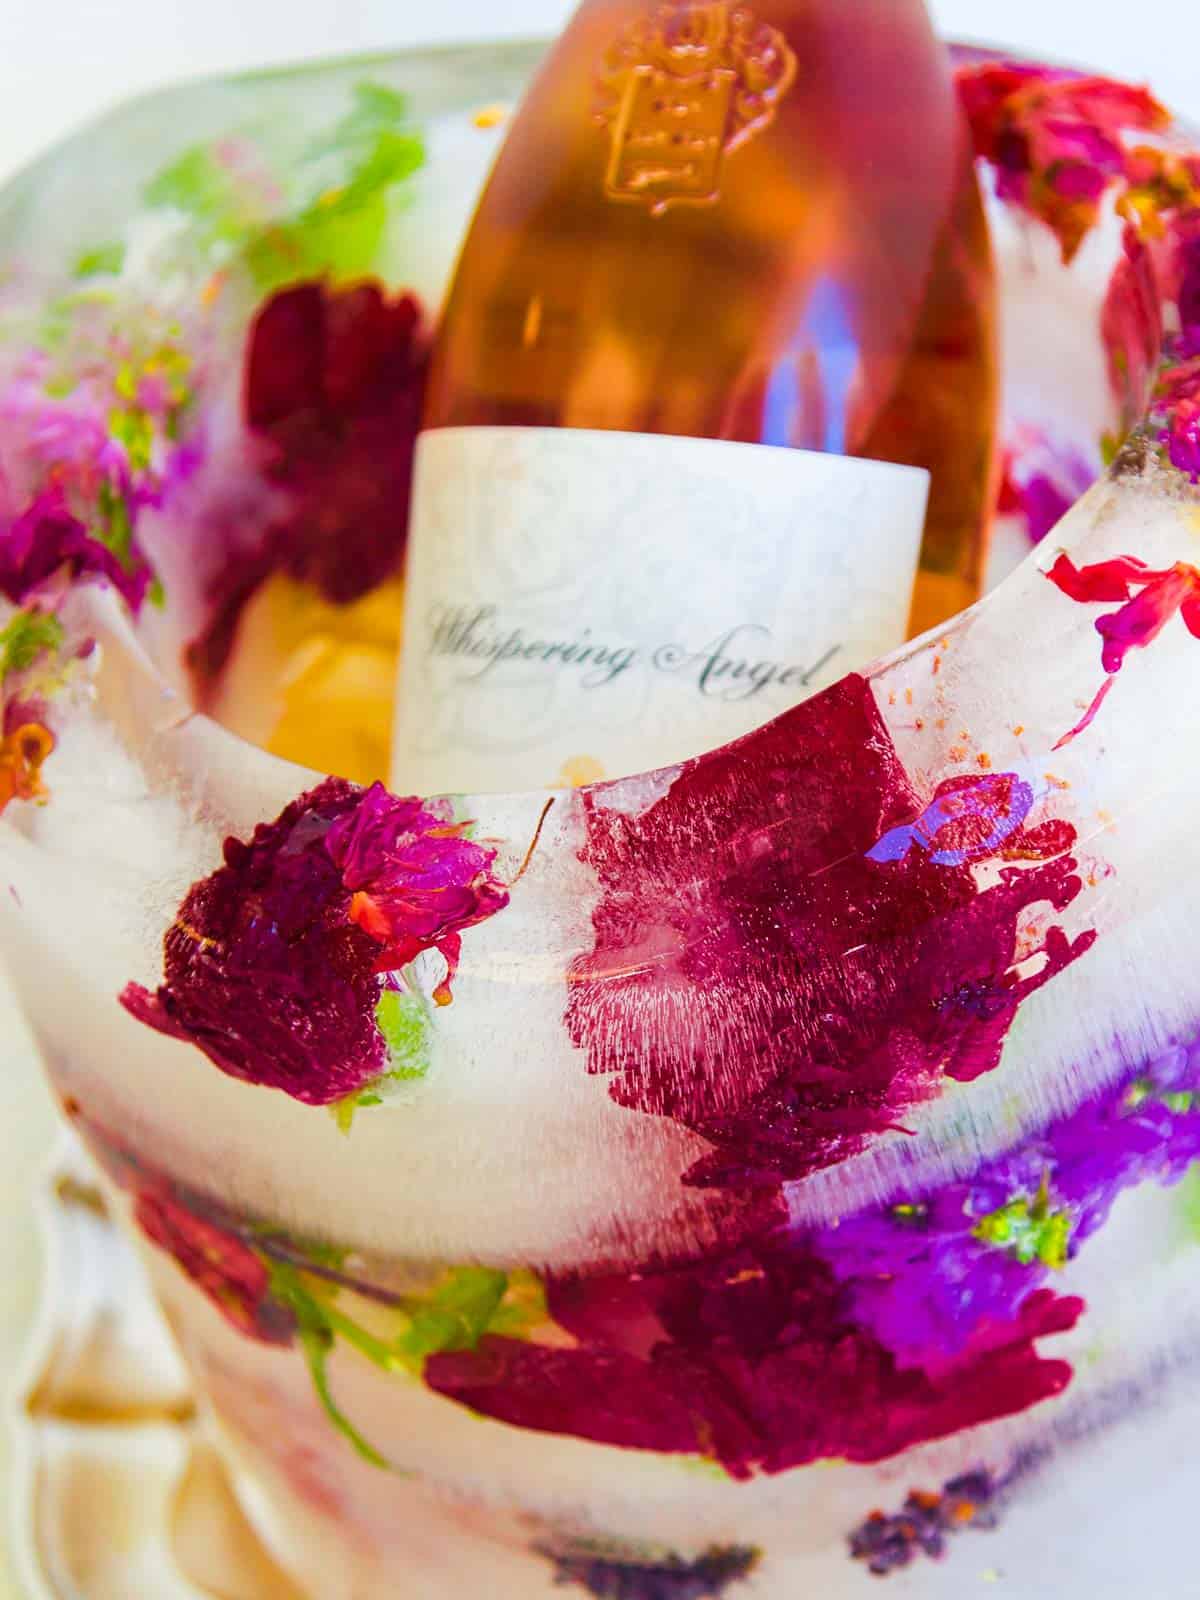
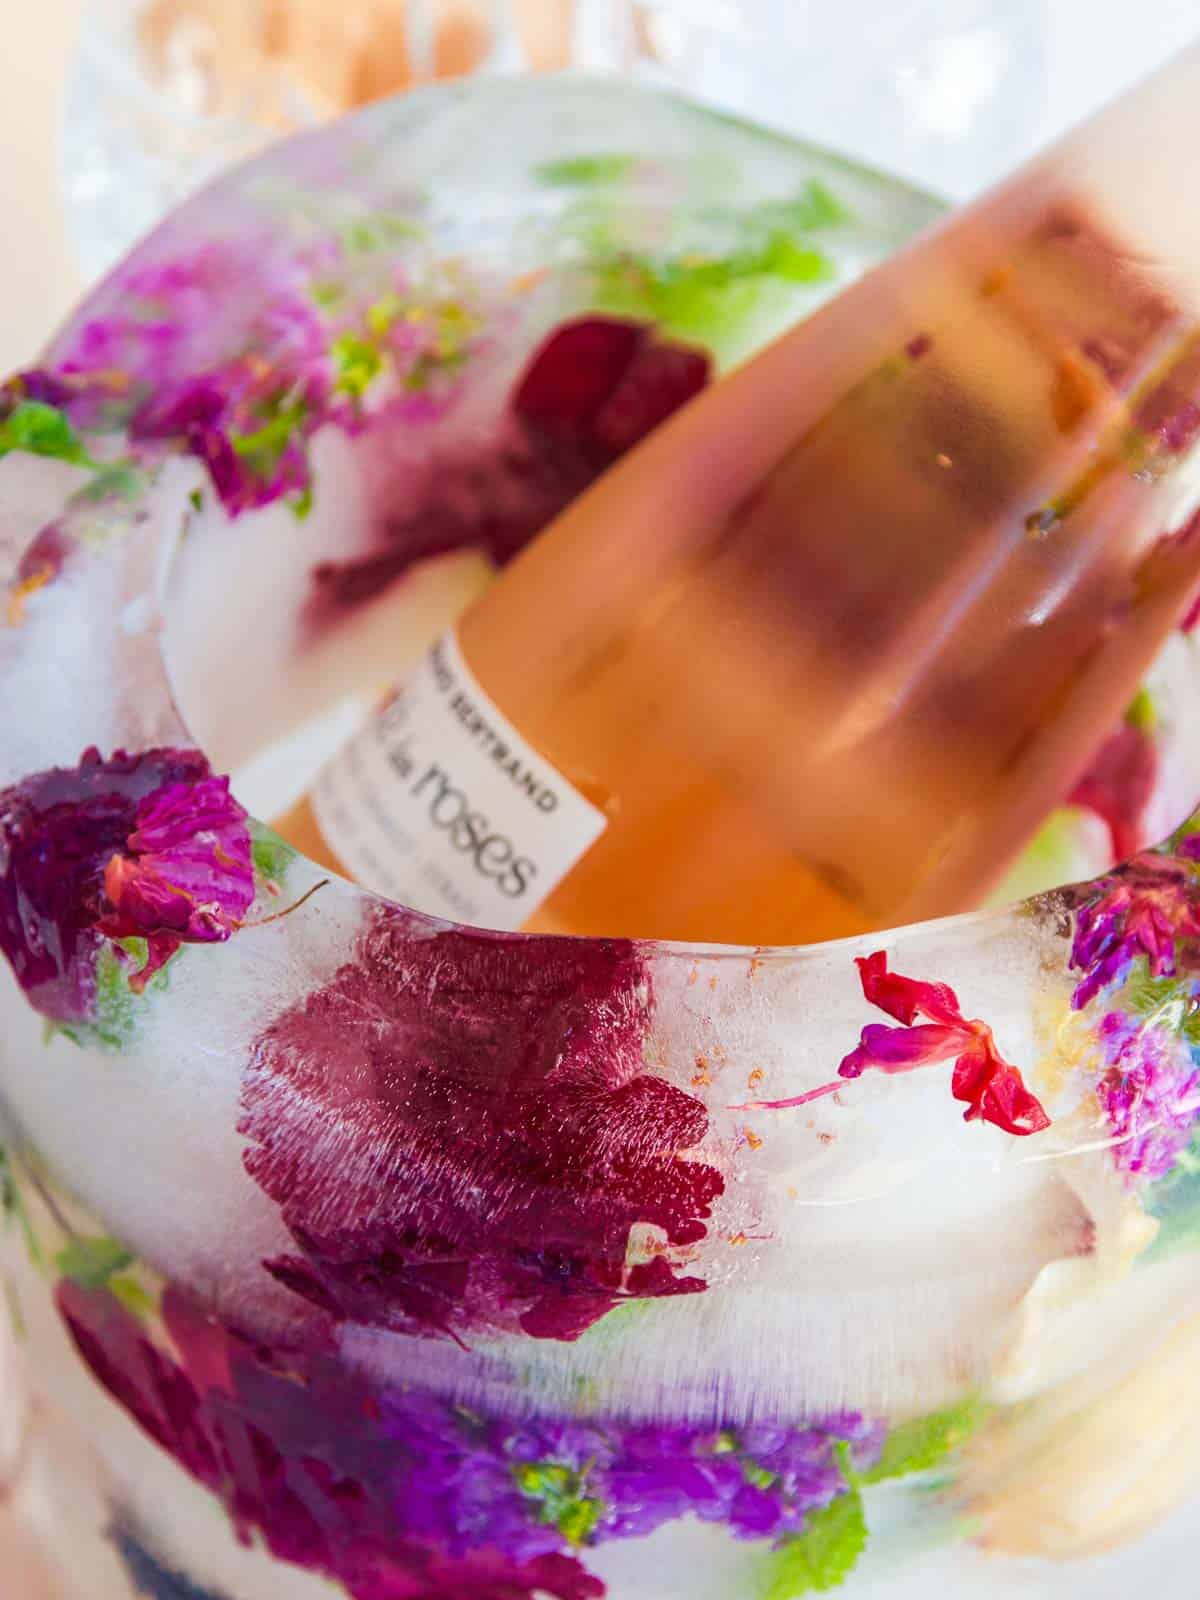
Creative Ice Bucket For Party Ideas
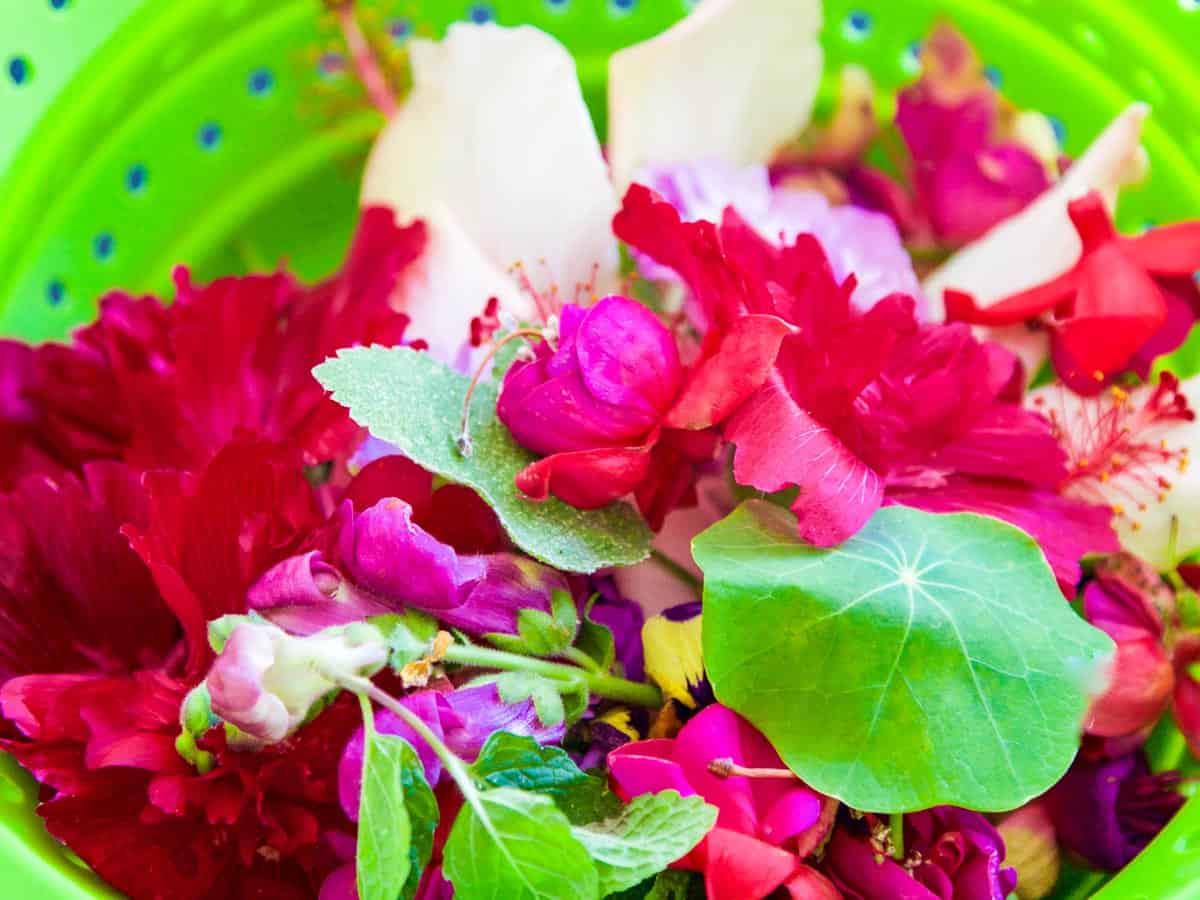
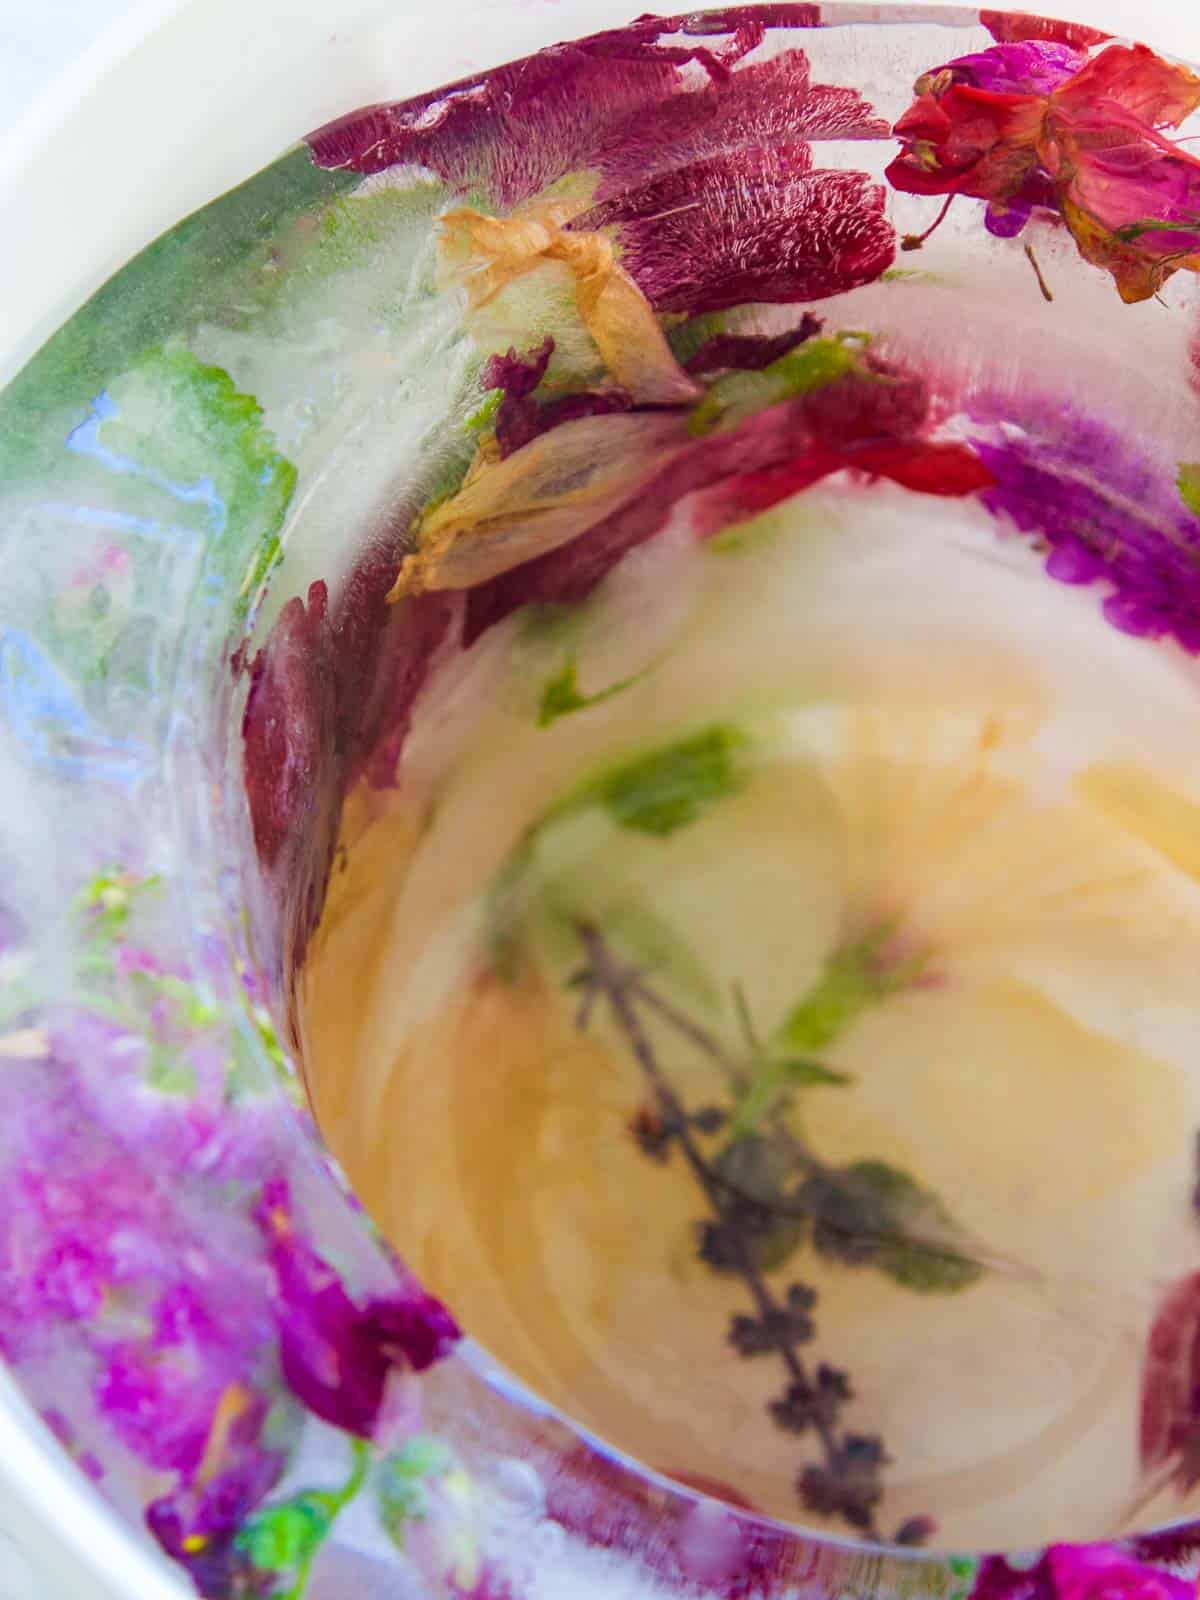
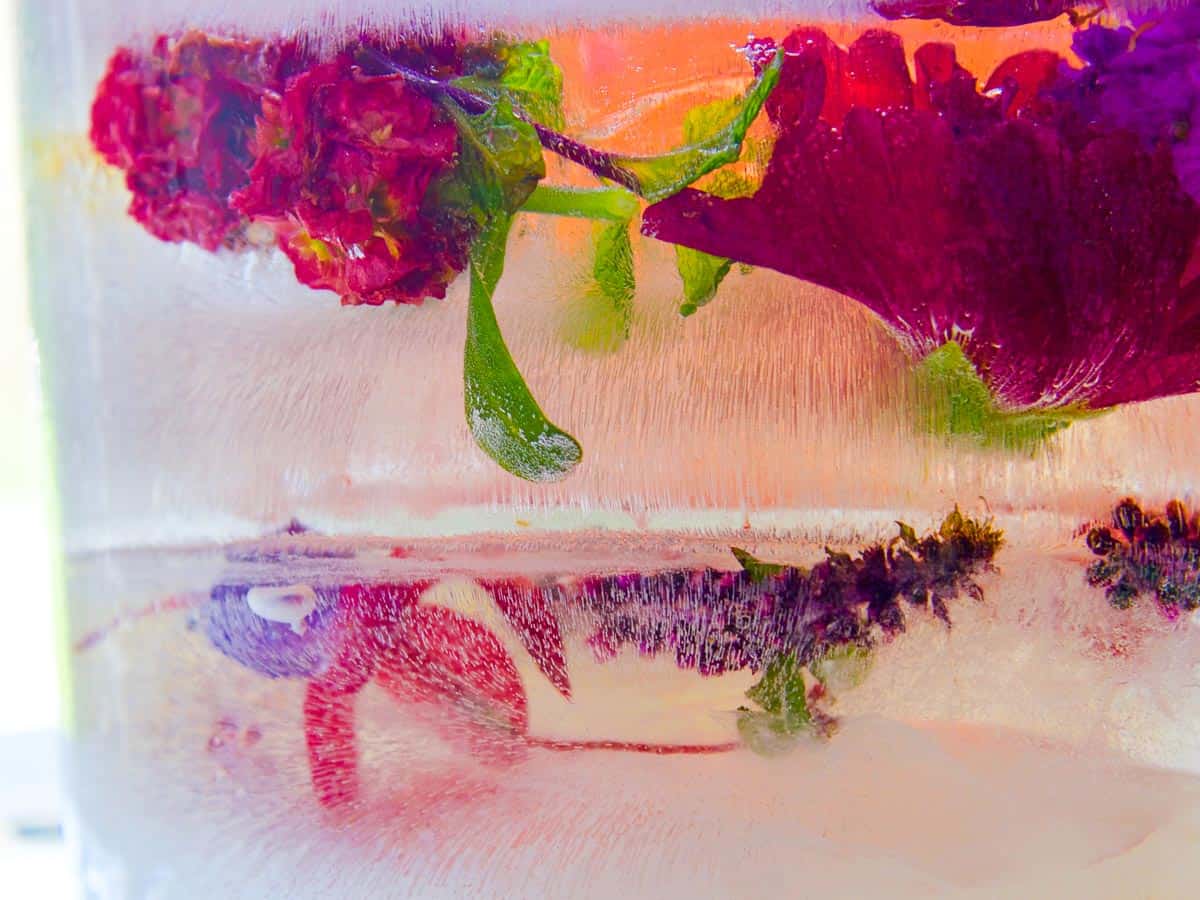
Fresh Flowers: Pick flowers and greenery right from your garden. I used a lot of hibiscus and nasturtiums that are very bright fun colors, along with mint and other flowers I had growing in my Southern California backyard.
Serving Idea: Place your ice bucket on a beautiful silver tray on top of a napkin, this helps it not slide around. You can also use a cake plate or tray.
Ice Bowls: Use this same technique to make small bowls to serve shrimp cocktail and sauce, wouldn't lemon slices be gorgeous frozen in an ice bowl to serve in?
Just use two different size bowls as your mold and the same instructions in this post. You could make one for the shrimp cocktail, and one for the cocktail sauce.
Holiday & Celebration Ideas: For Winter, Fall and Christmas, try leaves, cranberries, greenery, pine cones, or cinnamon sticks. On July 4th, freeze patriotic red white, and blue glitter, flowers, or other decorations. Use pink or baby blue rattles and toys for baby showers. And for birthdays and graduation freeze colorful glitter and bright flower petals frozen in wide band layers.
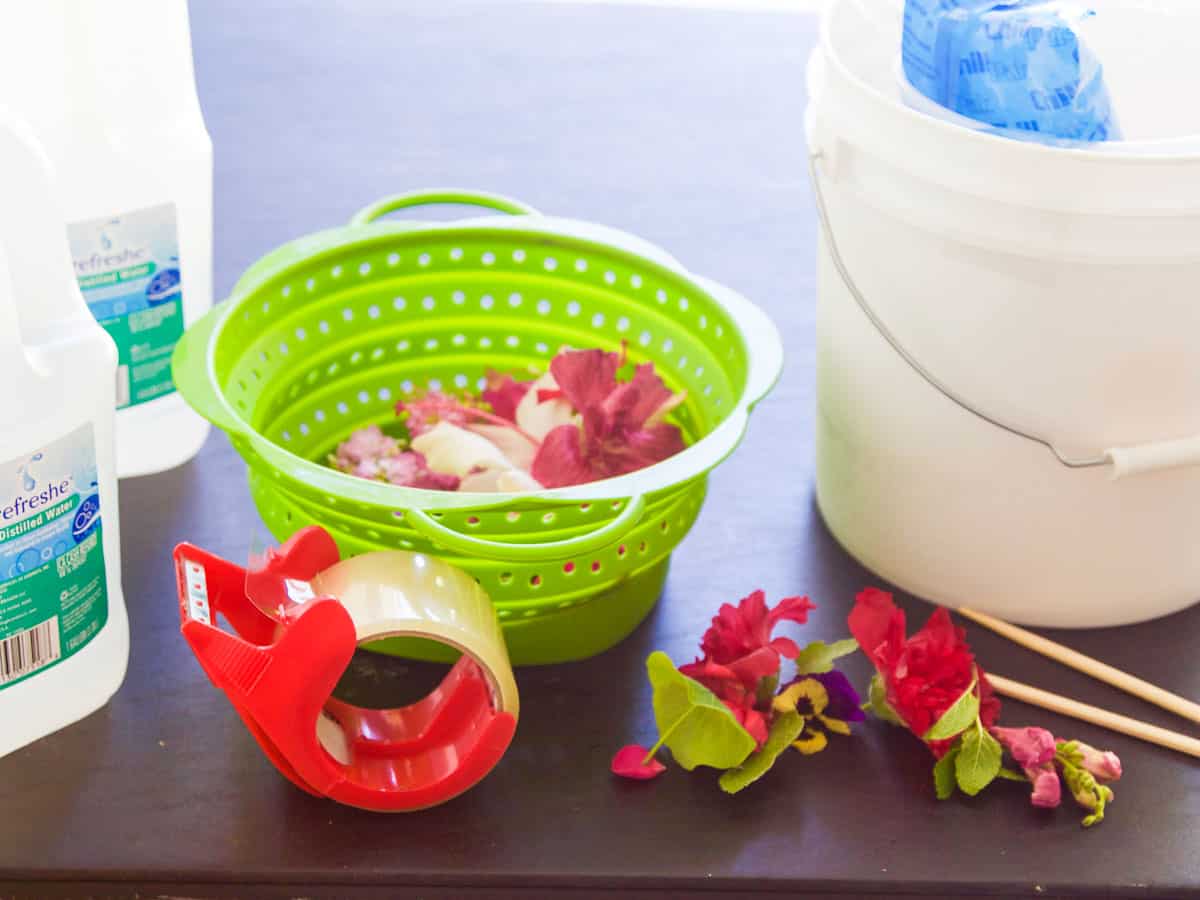
DIY Wine Chiller Supplies, Materials, and Tools List
2-gallon plastic pail (hardware store paint section)
2 ½ quart plastic pail (hardware store paint section)
2-gallon bottles of distilled or boiled water (freezes clear)
assorted flowers, greenery, or sliced fruit
clear tape
frozen ice-pack or weight like stones
2 chopsticks
silver platter or large plate (to serve it on for your party)
Step 1: Clear Freezer Space
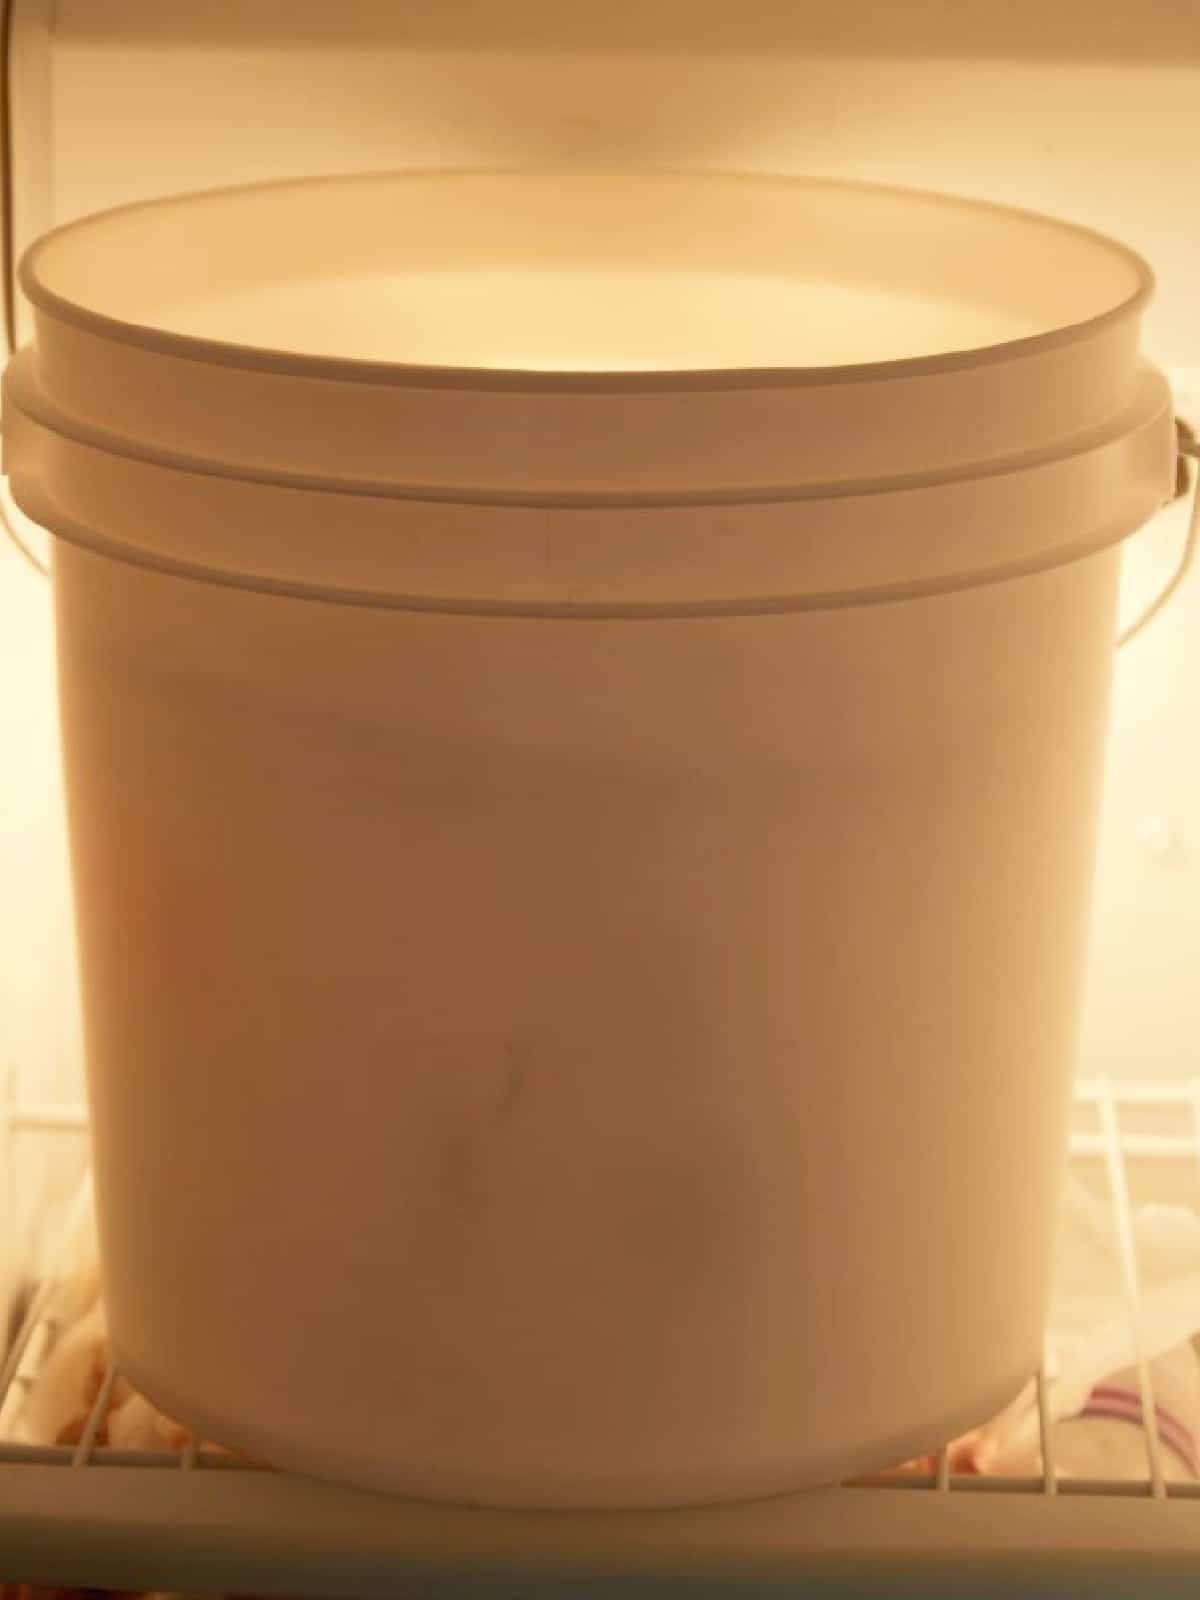
Clear a large enough space in your freezer to fit your DIY wine bottle chiller ice mold on the shelf. This was not easy for me as my freezer is always packed! 😜
Pro Tip: Distilled water (or boiled tap water) freezes clearer than plain tap water. Pick some up at the grocery store.
Step 2: First Layer Of Ice Mold
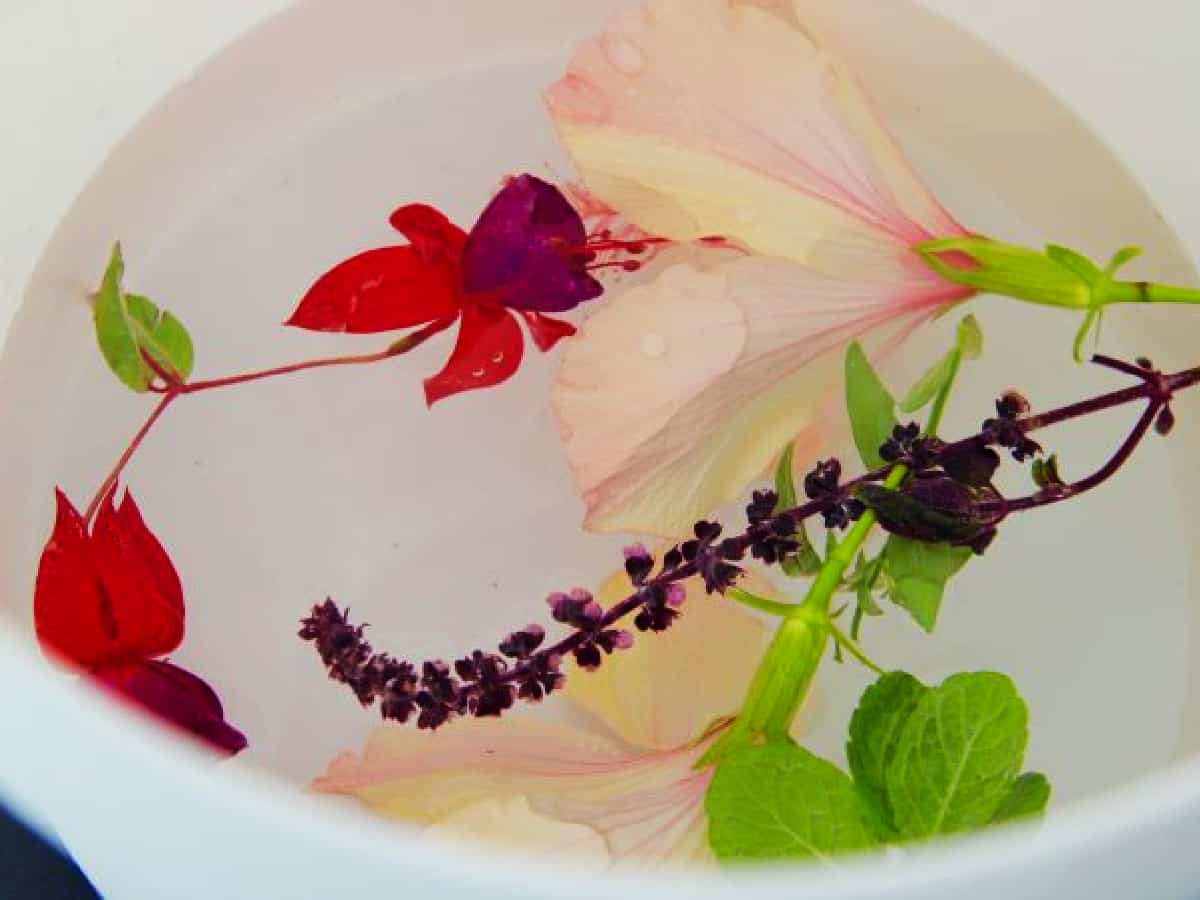
Pour 3-4 inches of distilled water into the bottom of the bucket and place a layer of flowers (or fruit) in the bottom.
This is the base of your ice bucket, pop into the freezer. Freeze until solid about 4 hours.
Step 3: Build The Mold
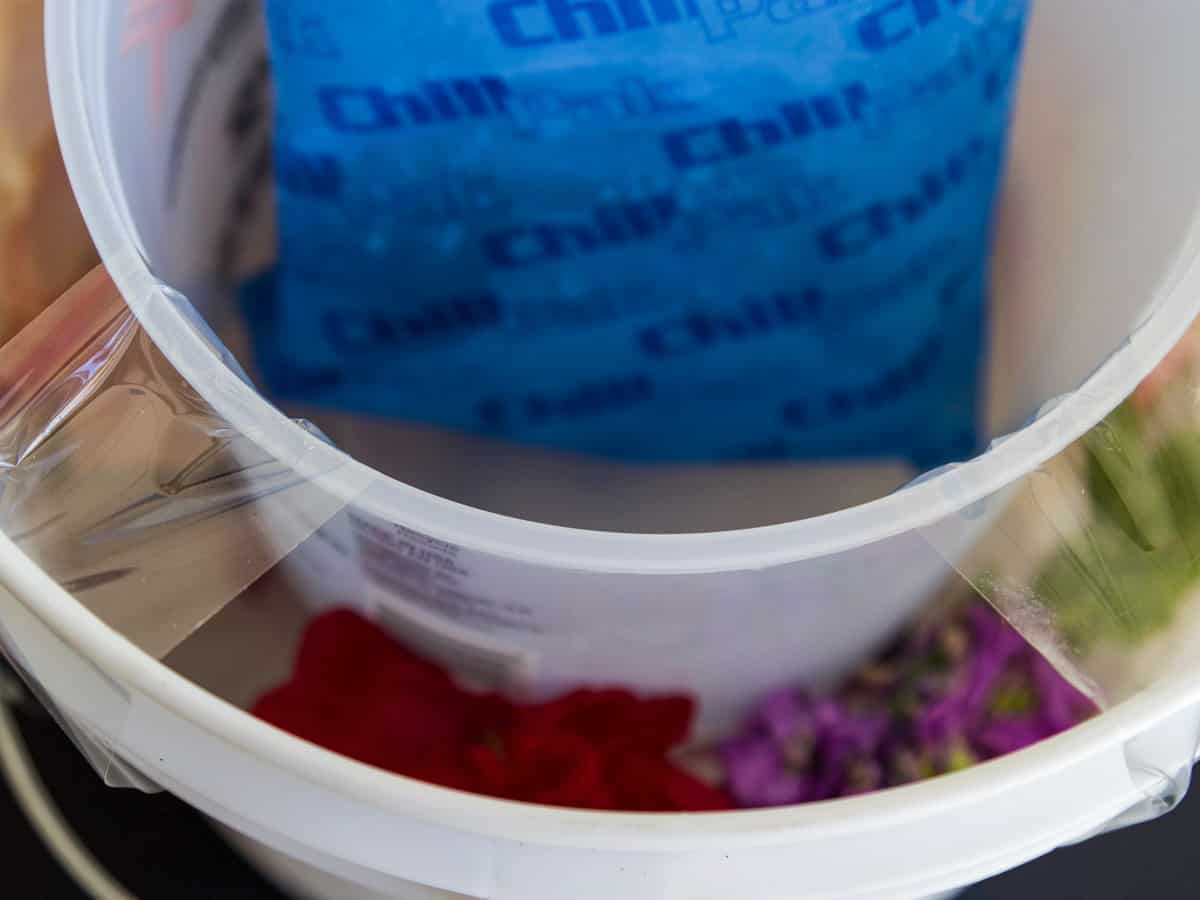
Place the smaller container inside the larger container and rest on the ice base. Now place the small bucket inside the large bucket to hold it in place using clear packing tape.
Weigh down the smaller container with a small frozen ice pack or a weight like large stones. Add more flowers, push them down or position them with chopsticks in the outer ring. Freeze this layer for 2-3 hours.
If your flowers are quite large, they will hold in between the buckets.
Step 4: Add More Flowers and Greenery
Fill with another 3 or 4 inches of distilled water and place more flowers, herbs, etc down into the water.
Sometimes the flowers float up and you can use a chopstick to push them down to distribute them a little more evenly around the sides.
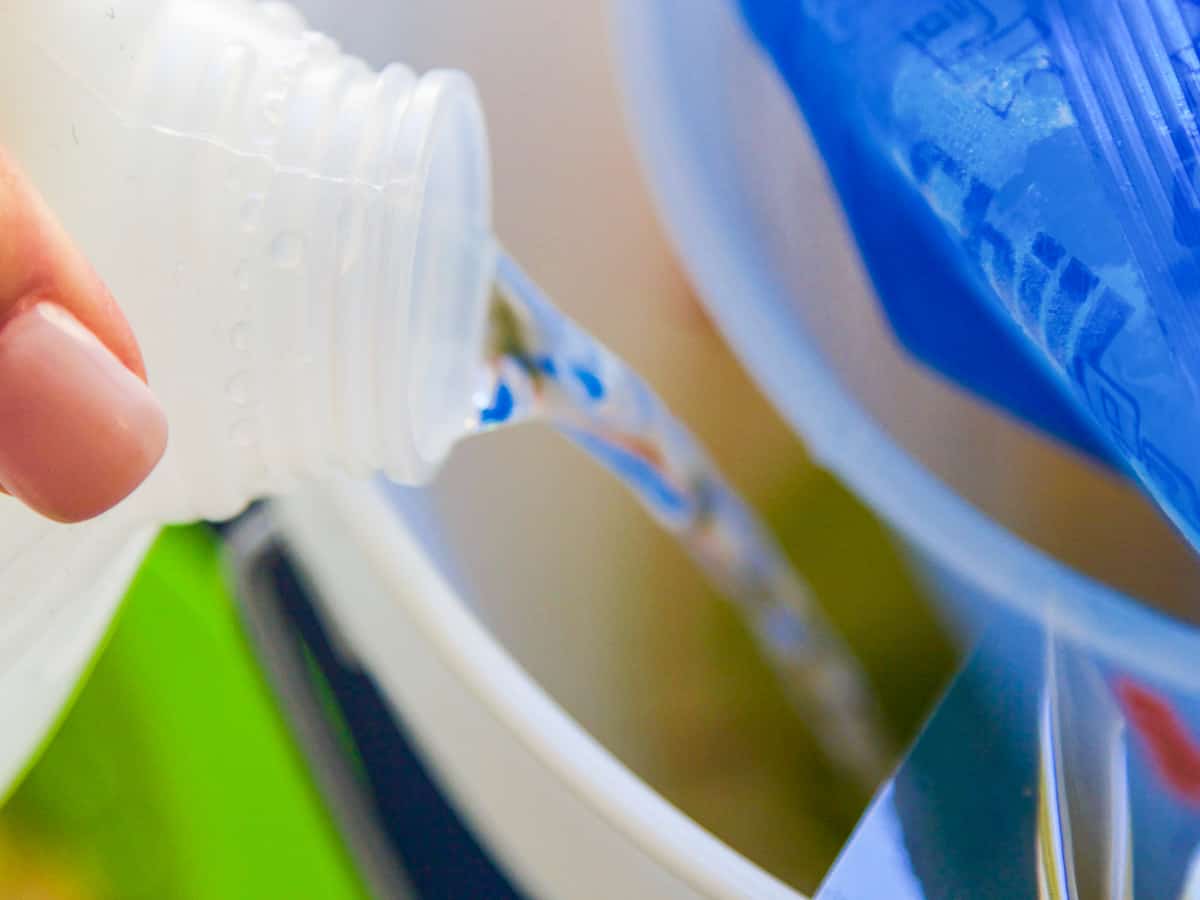
Step 5: Add the Final Layer of Flowers, and Greenery, Water
Repeat and freeze in 3-4 total layers depending on bucket size. Freezing in layers allows flowers to be all the way through the frozen ice.
Otherwise, they float all to the top. Freeze overnight before taking it out of the plastic bucket.
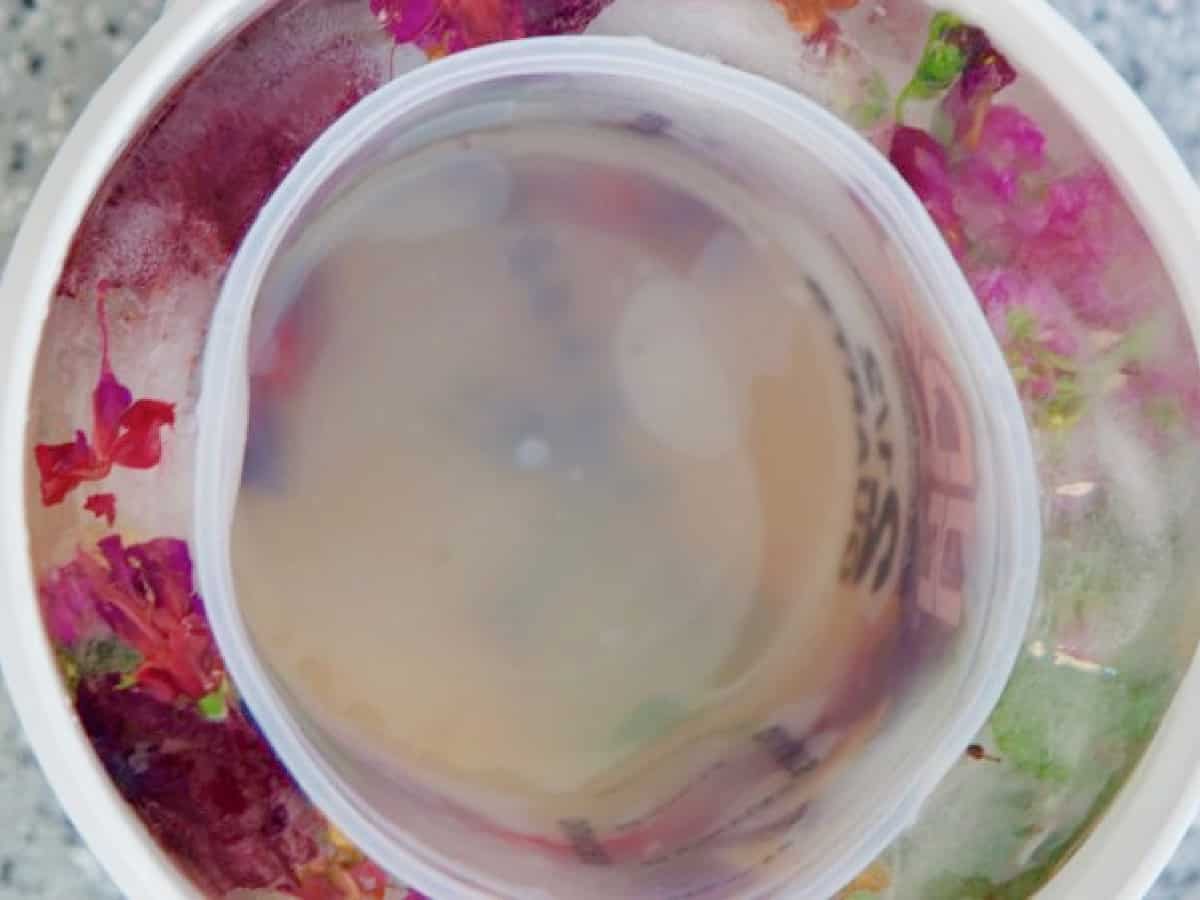
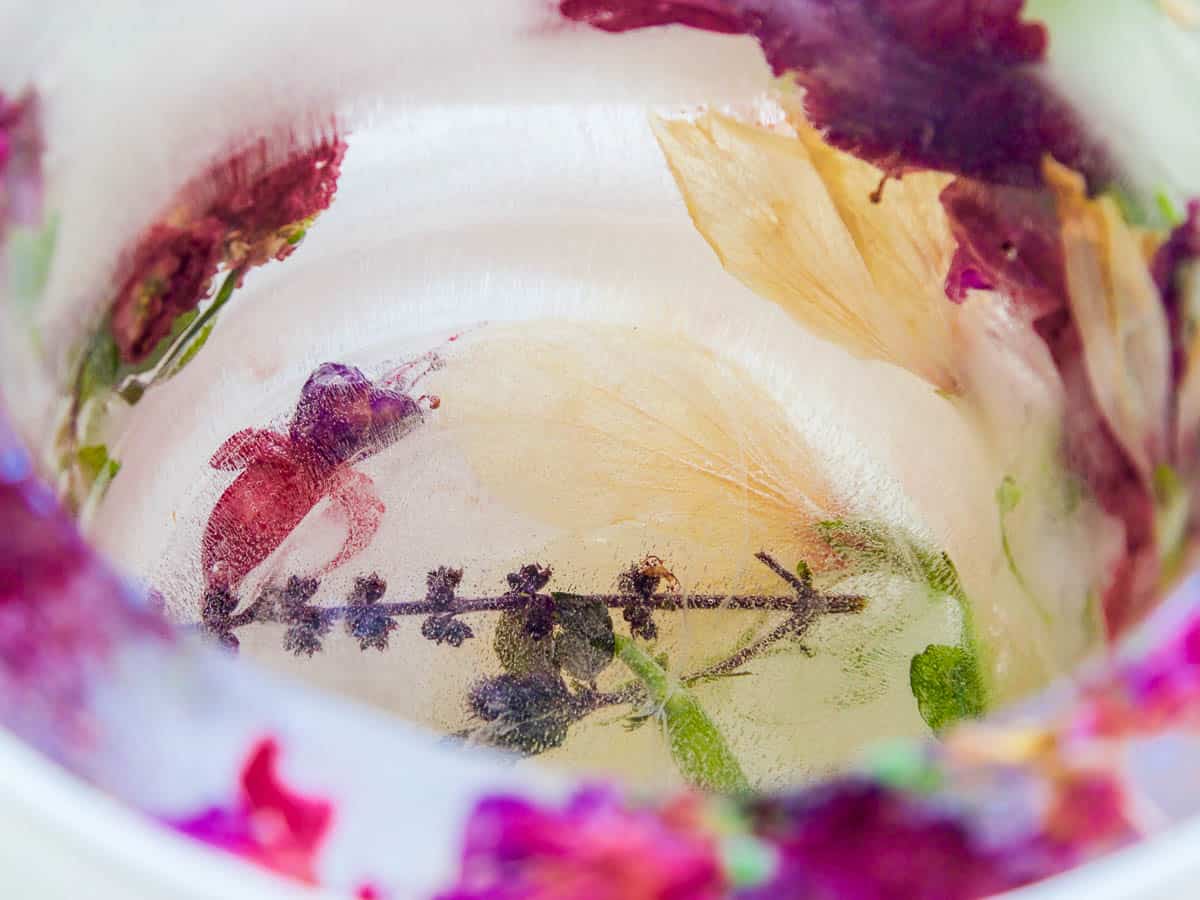
Step 6: Unmold your Frozen Bucket
When you are ready to unmold and use your frozen ice bucket, pour warm water into the center small bucket which will release the small pail from the center.
Next, run the side of the large bucket under warm water until the bucket releases from the frozen ice piece.
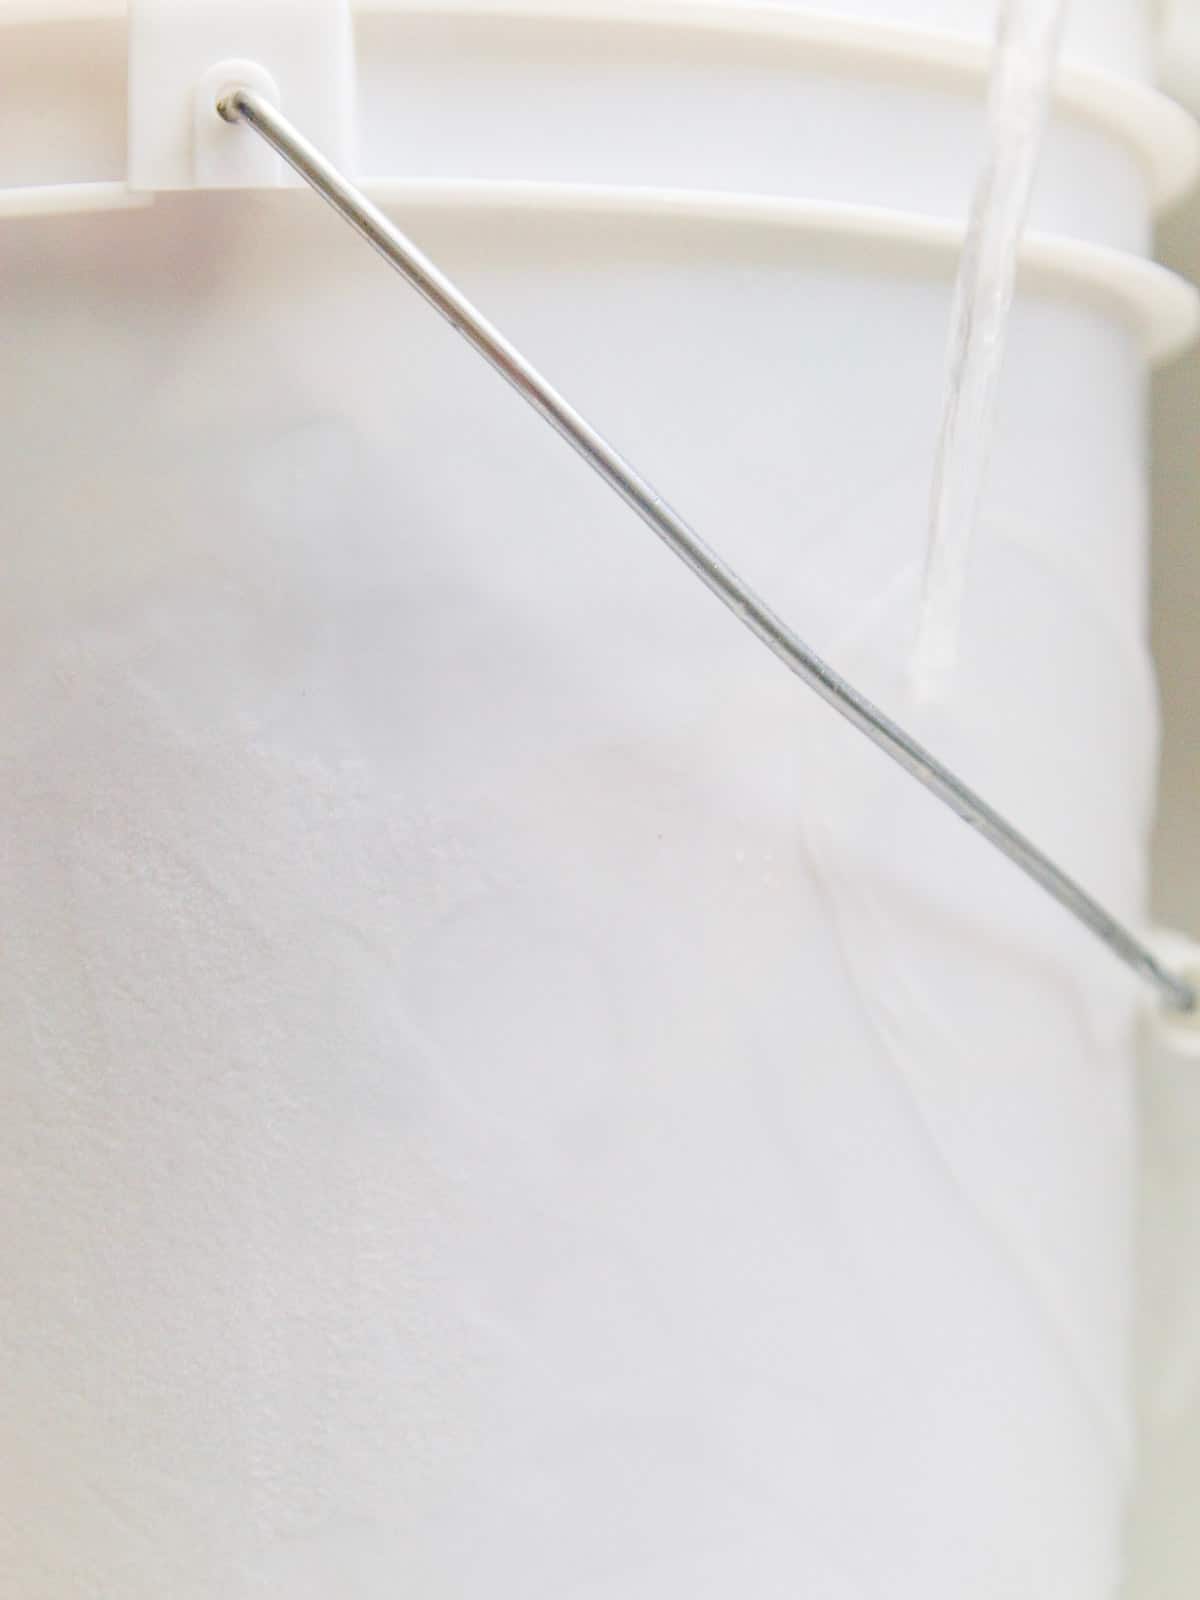
Step 7: Return Ice Bucket to Freezer Quickly
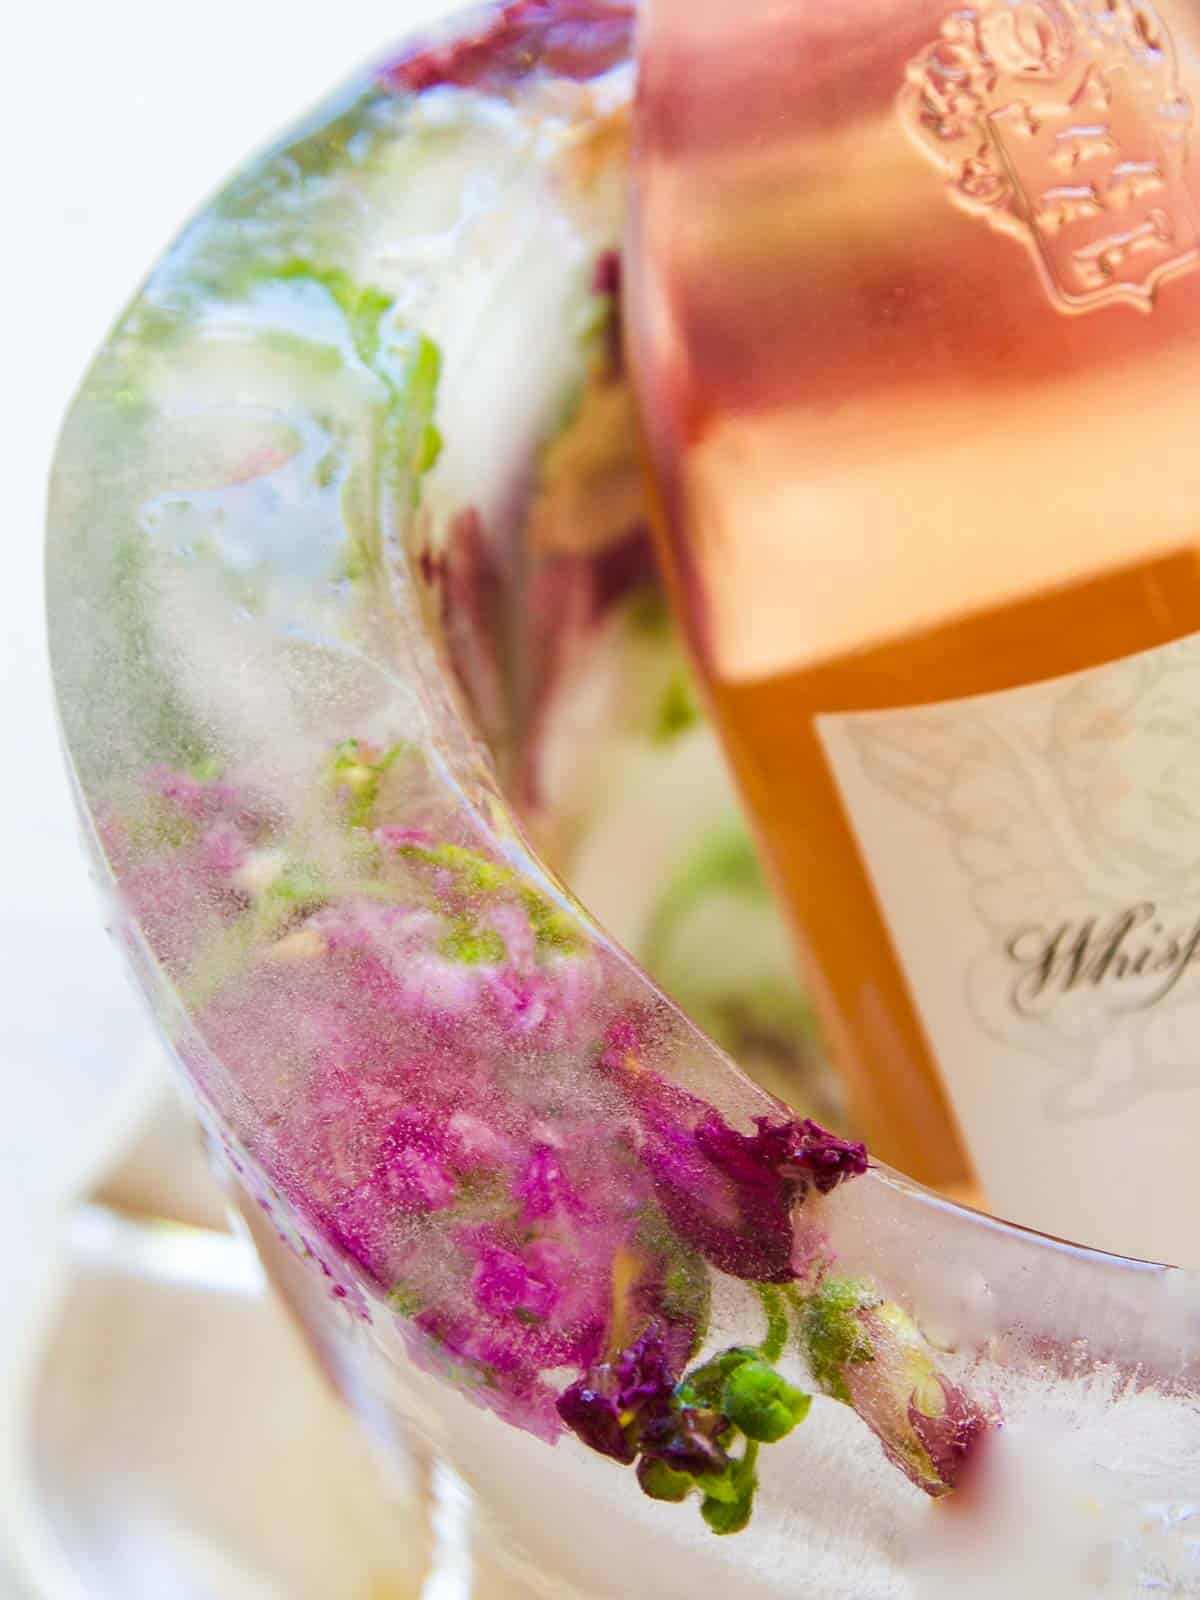
Once your ice bucket is out of the mold, return it to the freezer until your party begins, place it out after guests arrive on a pretty silver tray with a napkin underneath to keep it from sliding and a bottle of sparkling water, wine, or champagne. Of course, it melts, so place it somewhere so it can drip into your garden!
So pretty...and by the way, I kept this in my freezer for a couple of weeks before using it, so this project can be done well in advance of your party.
DIY Floral Ice Bucket FAQ
Try lemon, lime, apple or orange slices
Fruit like strawberries, blueberries, or kiwis
Use flowers and greenery from your own garden or flower shop
Herbs from your garden: mint, rosemary, or thyme
Use silk flowers or artificial greenery, those are great too!
Pre-chill your wine bottles so they are nice and cold before your party.
The ice bucket will begin to melt very fast so place it out at your party just after guests arrive.
Before your party, remove the frozen floral ice bucket from the plastic pail, and keep it in the freezer so it is good to go.
More Party Food Ideas
Have fun, create and share something you put your heart into with your guests, that is truly entertaining in style and your guests will love it.
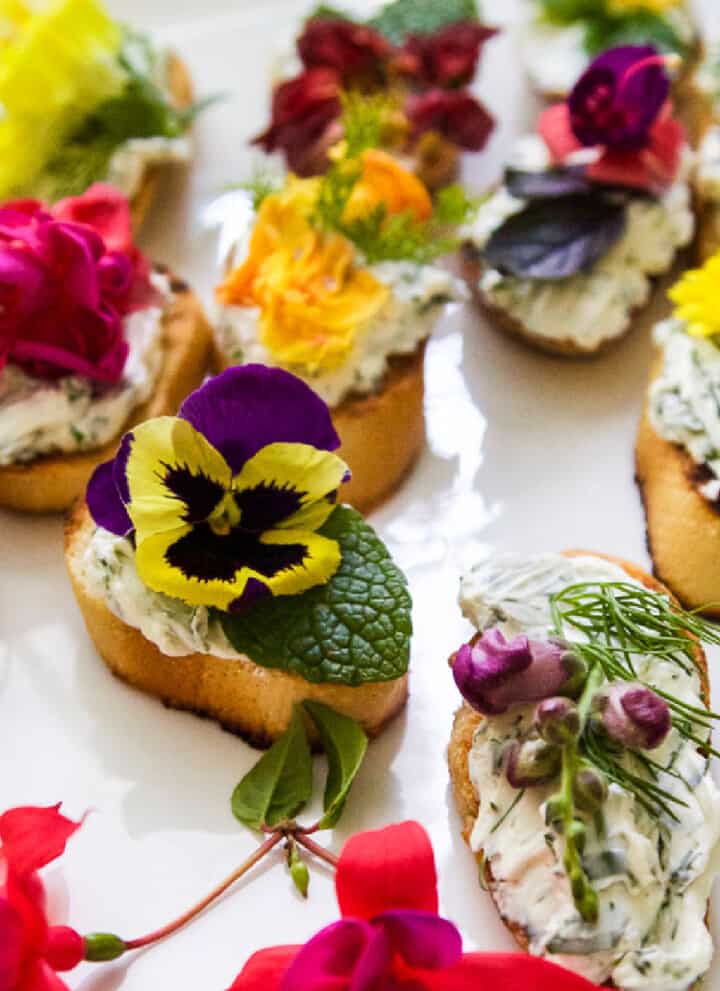
Spring Garden Crostini with edible flowers and herbs is a spectacular easy appetizer, perfect for a tea, garden party, wedding shower, or Mother's Day.
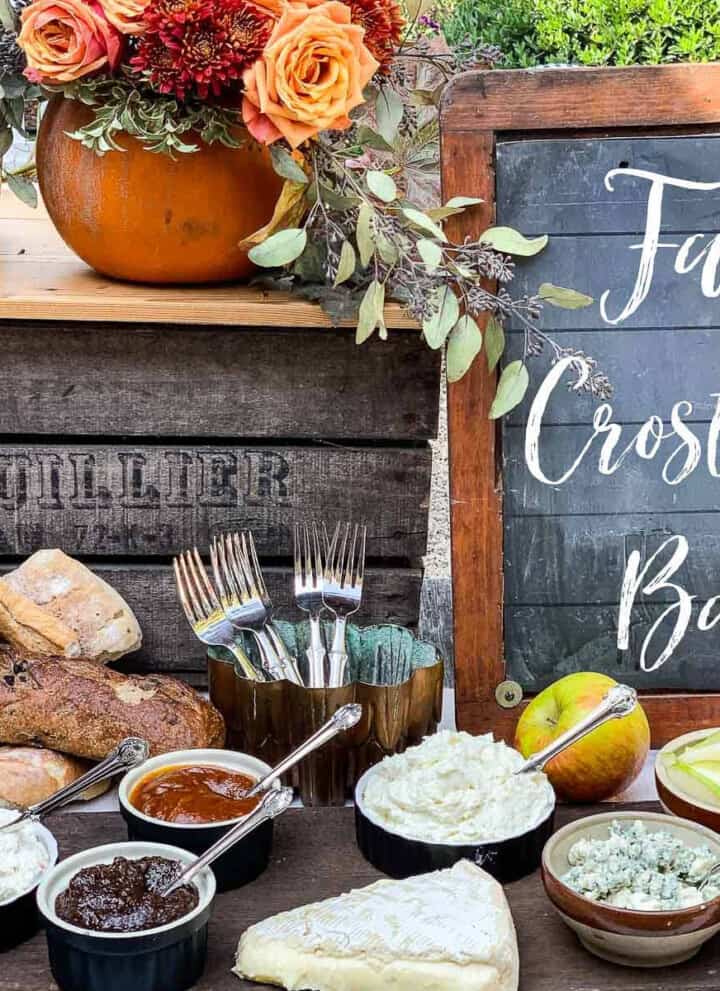
Learn how to set up a Crostini Bar for Fall with all the toppings, plus get beautiful design inspiration for arranging an easy and relaxed party for Thanksgiving, a Fall gathering, or Friendsgiving.
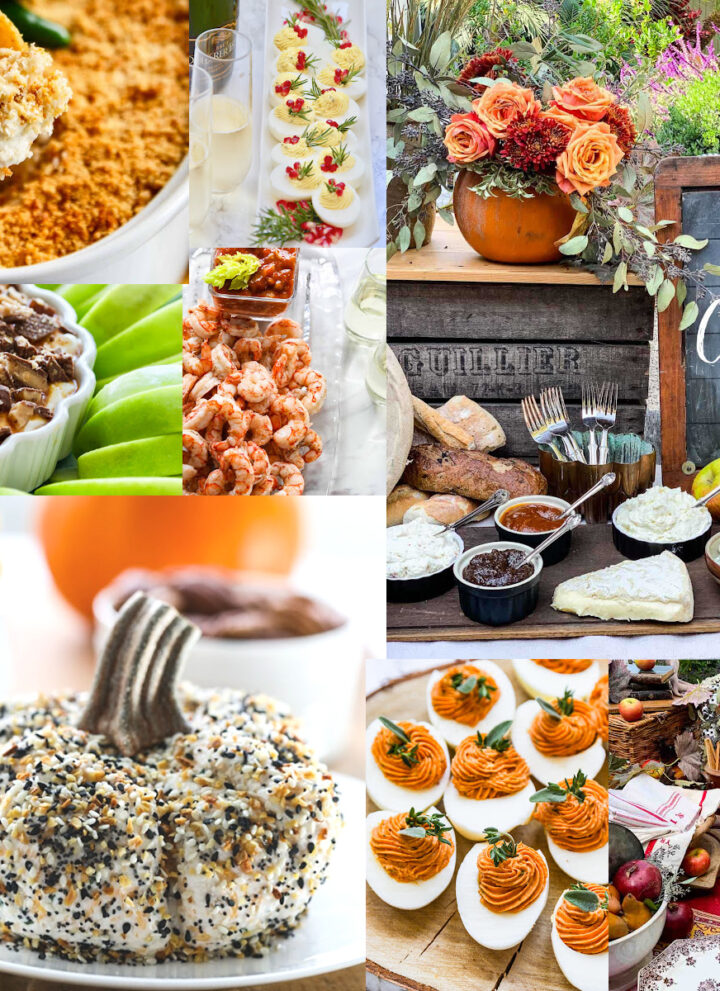
Thanksgiving Appetizers plus holiday party ideas. These easy holiday recipes include deviled eggs, dips, and delicious easy-fall appetizers like a Crostini bar.
Dozens of Easter Menu Ideas are included in this collection of recipes. You will find all the traditional Easter Dinner classics like glazed ham, rack of lamb, sides like glazed carrots, roasted or mashed potatoes, and scrumptious desserts like an adorable bunny cake.
CRAVING MORE?
Did you love this recipe? We would love to hear from you! If you make this recipe and love it, give it a 5-star rating ⭐⭐⭐⭐⭐ with a comment. THANK YOU!! Follow Delicious Table with my free newsletter and share this recipe with your friends on Facebook, Pinterest, and Instagram.
Party Ice Bucket
Materials
- 1 2-gallon plastic pail (hardware store paint section)
- 1 2 ½ quart plastic pail (hardware store paint section)
- 2 1-gallon bottles of distilled water or boiled water (freezes clear)
- assorted flowers, greenery, or sliced fruit
- clear packing tape
- frozen ice-pack or weight like stones
- 2 chopsticks
- silver platter or large plate (to serve it on for your party)
Instructions
- Clear a large enough space in your freezer to fit your DIY wine bottle chiller ice mold on the shelf. This was not easy for me as my freezer is always packed!
- Pour 3-4 inches of distilled water into the bottom of the bucket and place a layer of flowers (or fruit) in the bottom.
- This is the base of your ice bucket, pop into the freezer. Freeze until solid about 4 hours.
- Place the smaller container inside the larger container and rest on the ice base. Now place the small bucket inside the large bucket to hold it in place using clear packing tape.Weigh down the smaller container with a small frozen ice pack or a weight like large stones. Add more flowers, push them down or position them with chopsticks in the outer ring. Freeze this layer for 2-3 hours.If your flowers are quite large, they will hold in between the buckets.
- Fill with another 3 or 4 inches of distilled water and place more flowers, herbs, etc down into the water.Sometimes the flowers float up and you can use a chopstick to push them down to distribute them a little more evenly around the sides.
- Repeat and freeze in 3-4 total layers depending on bucket size. Freezing in layers allows flowers to be all the way through the frozen ice.Otherwise, they float all to the top. Freeze overnight before taking it out of the plastic bucket.
- When you are ready to unmold and use your frozen ice bucket, pour warm water into the center small bucket which will release the small pail from the center.Next, run the side of the large bucket under warm water until the bucket releases from the frozen ice piece.
- Once your ice bucket is out of the mold, return it to the freezer until your party begins, place it out after guests arrive on a pretty silver tray with a napkin underneath to keep it from sliding and a bottle of sparkling water, wine, or champagne. Of course, it melts, so place it somewhere so it can drip into your garden!So pretty...and by the way, I kept this in my freezer for a couple of weeks before using it, so this project can be done well in advance of your party.
Notes
Fruit like strawberries, blueberries, or kiwis
Use flowers and greenery from your own garden or flower shop
Herbs from your garden: mint, rosemary, or thyme
Use silk flowers or artificial greenery, those are great too! tips to use it Pre-chill your wine bottles so they are nice and cold before your party. The ice bucket will begin to melt very fast so place it out at your party just after guests arrive. Before your party, remove the frozen floral ice bucket from the plastic pail, and keep it in the freezer so it is good to go.





Such a fun easy project! We used flowers from the grocery store and some greens from our garden, it turned out beautiful!