Last Updated May 28th, 2023 at 10:23 pm by Lisa
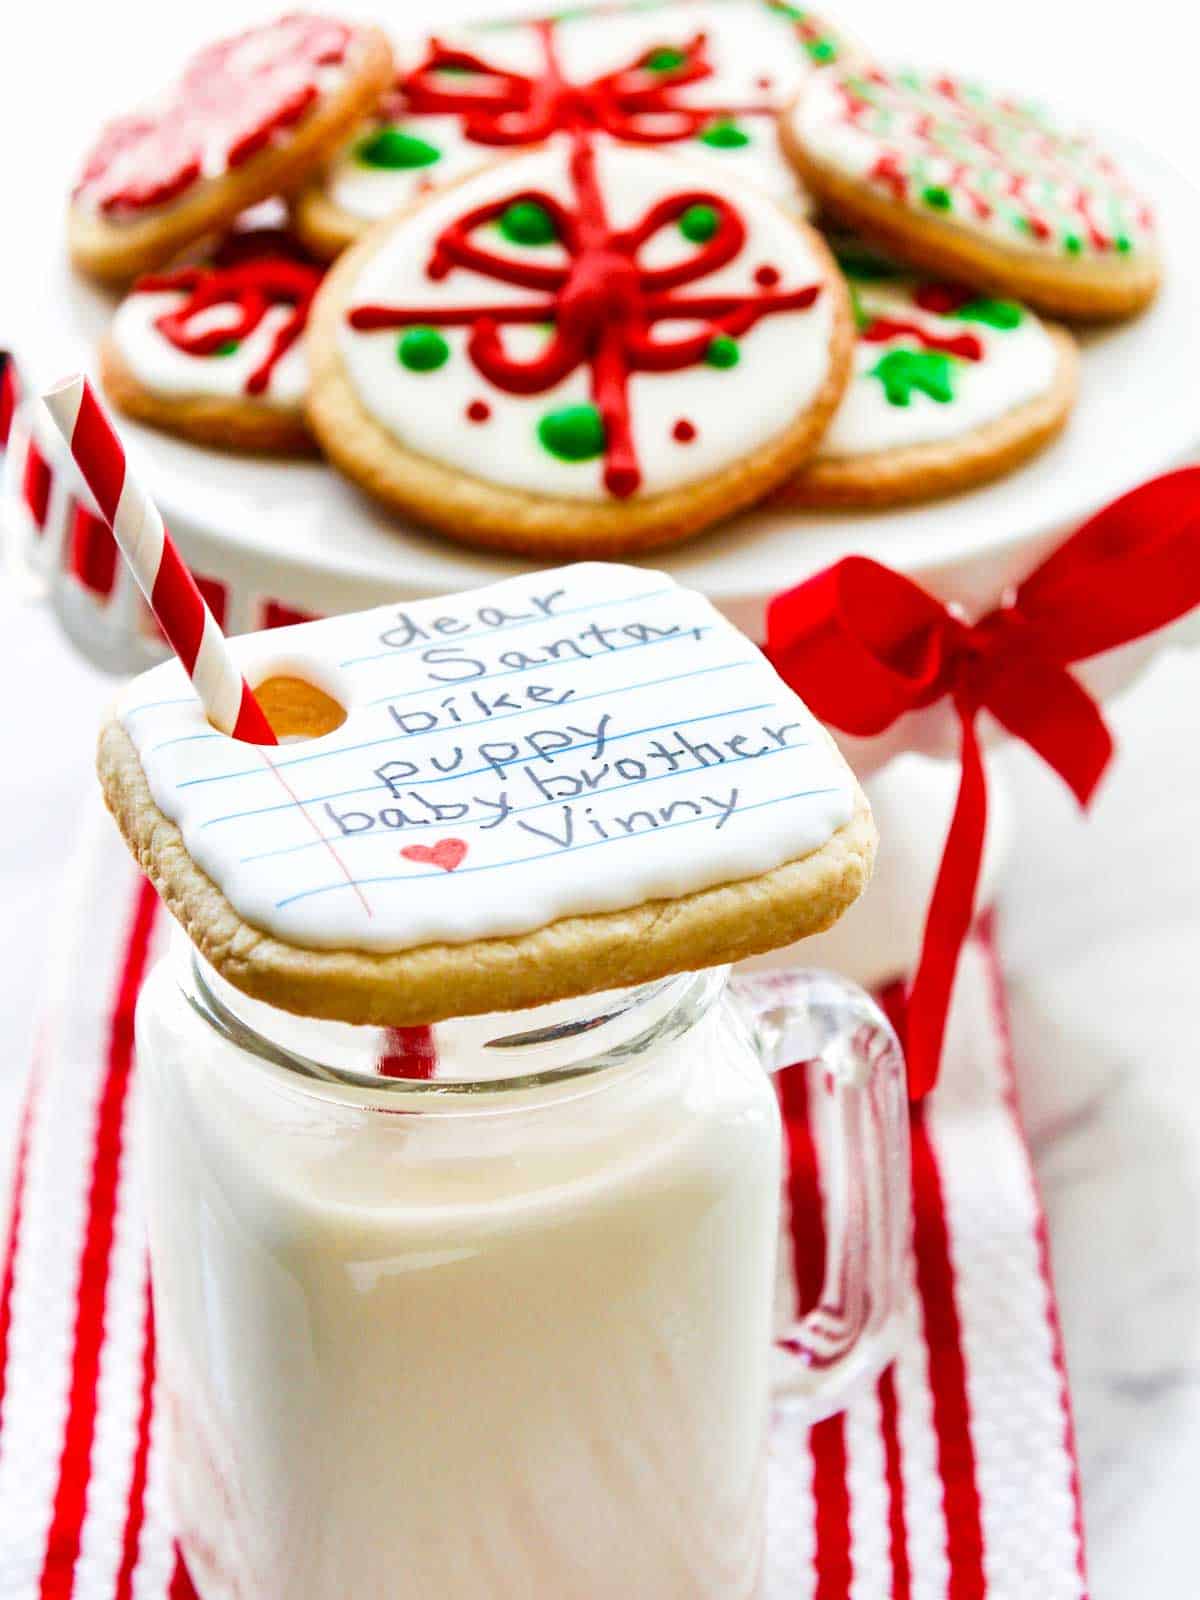
Children all over the world leave Santa Cookies and milk or other festive foods on Christmas Eve. Your kids will love to write their wish lists on these festive sugar cookies, and there is even a place for the straw!
When Santa Claus comes to town, he will HO HO HO when he sees the lists, and knows who is naughty or nice...
Santa's Cookie Recipe
Leave out Santa's favorite cookies and don't forget some carrots for the reindeer, this is the best Christmas cookie recipe I bake every year as a tradition. They are always a huge hit during Christmas!
PRO TIPS: Plan ahead for the prep time on these, the royal icing needs 2-3 days to dry solid before you can write on them with edible color markers.
Sugar Cookie Baking Instructions
- granulated sugar
- butter softened
- egg (or EggBeaters work perfectly!)
- baking powder
- orange juice (freshly squeezed from an orange)
- vanilla extract
- all-purpose flour
- In a large mixing bowl or stand mixer, add sugar and softened butter. Mix the white sugar and cream butter (or cream unsalted butter) until well combined.
- Next add egg, baking powder, orange juice, vanilla extract, and flour. Mix until combined.
- Wrap the dough in plastic food wrap and chill until firm.
- On a lightly floured surface, roll out the dough to ¼ thickness.
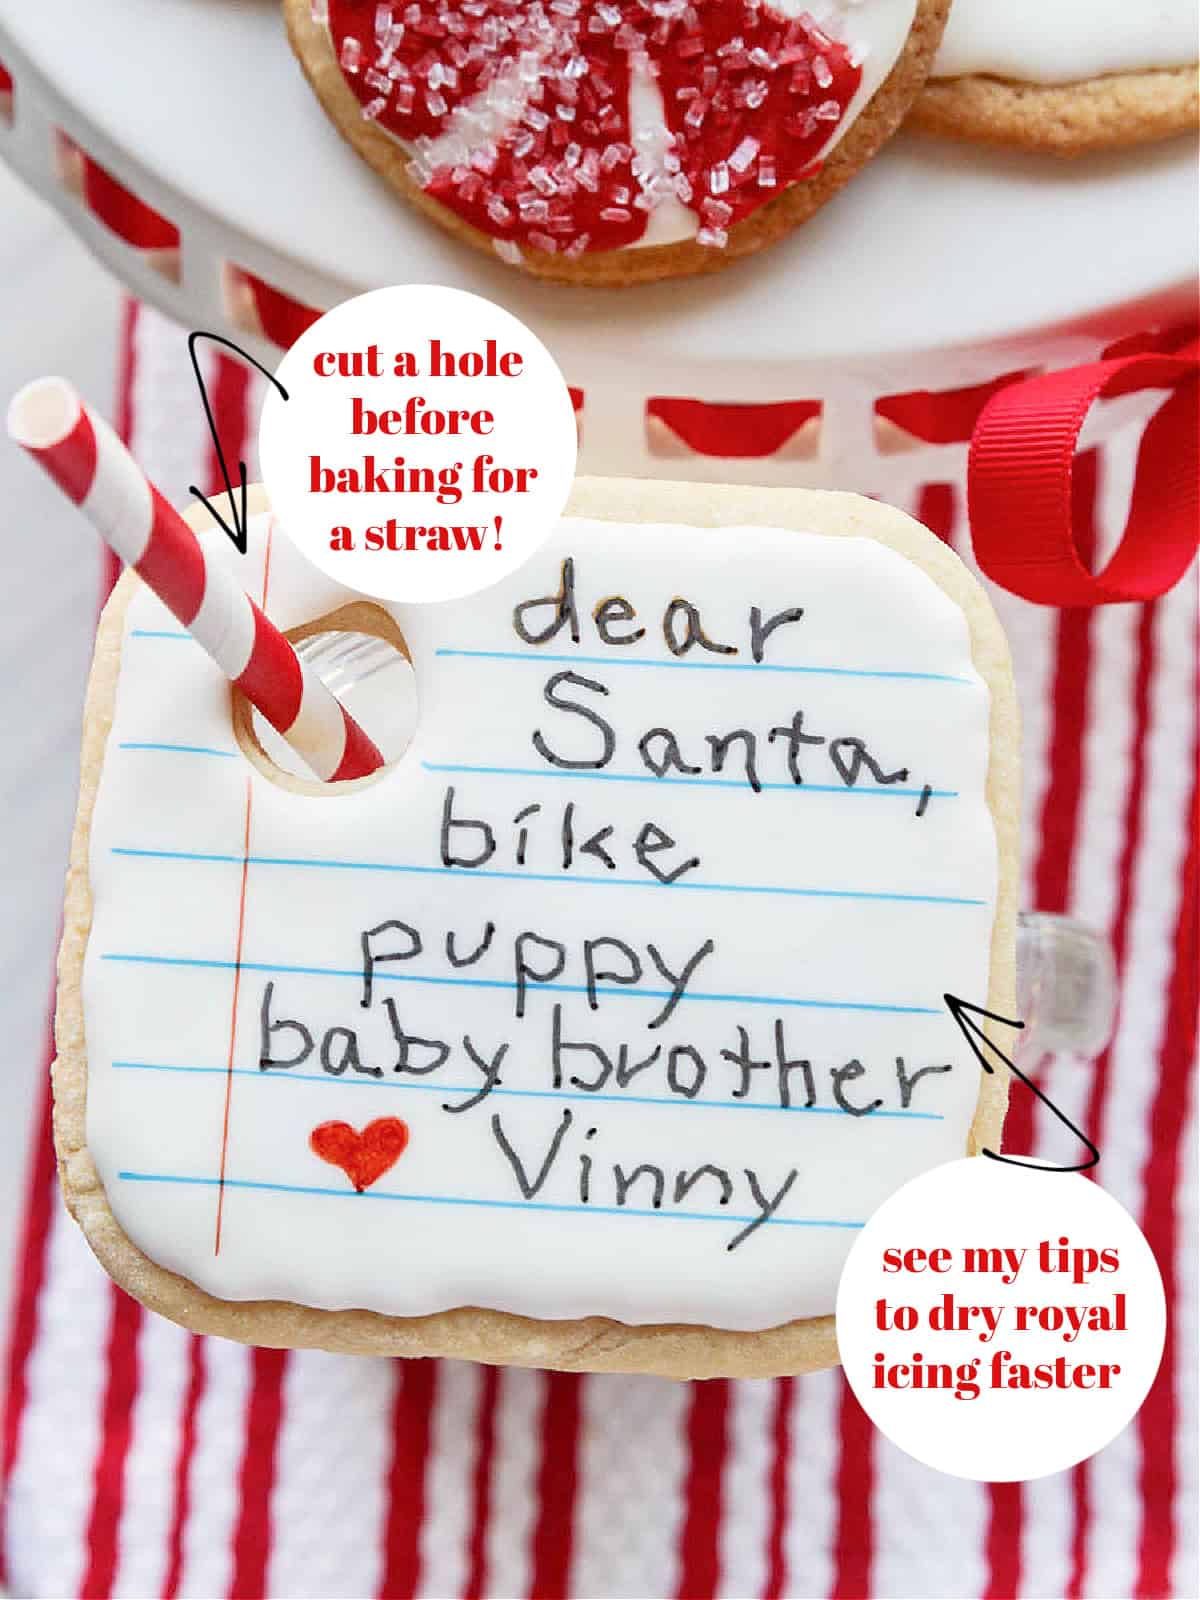
- Use a square shape cutter (I used a top from a food container) cut out the square. Next, using the big end of an icing decorating tip, cut a small ½" hole in the corner of the cookie for the straw. Place on a parchment-lined baking sheet at least 1-2 inches apart.
- Heat oven to 400 degrees, and bake for 10-12 minutes until edges are lightly browned.
- Cool completely, then you are ready to decorate.
Christmas Cookie Baking Equipment List
A few things you might need to design the most beautiful cookies!
- Large Metal Sheet Pan
- Meringue Powder (Royal Icing)
- Edible Color Marker Decorating Pens
- Disposable Cookie Decorating Bags
- 8 Icing Colors
Mix The Royal Icing
powdered sugar
meringue powder
dash vanilla extract clear preferred
warm water
- Place all ingredients into a mixer and whip on slow for 10 minutes.
- Keep the royal icing covered with saran wrap or a damp kitchen towel or it dries out and doesn't spread smoothly.
- Add drops of red or green color to some royal icing.
- Leftover icing can be frozen and used later.
Royal Icing Top Drying Tips
PRO TIP: The best way to dry cookies is to place them on a parchment lined prepared cookie sheet in the oven with only the oven light on.
- Or place them on a parchment-lined sheet pan on the kitchen counter.
- Don't put them in the fridge, the icing won't dry, and they get too soft.
- The royal icing actually helps keep the cookies the right soft texture as it dries.
- Humidity plays a role in how fast the icing dries and will vary depending on where you live and the weather the day you bake.
- Place a fan near the cookies to speed up the drying process.
Christmas Cookie Decorating Tips
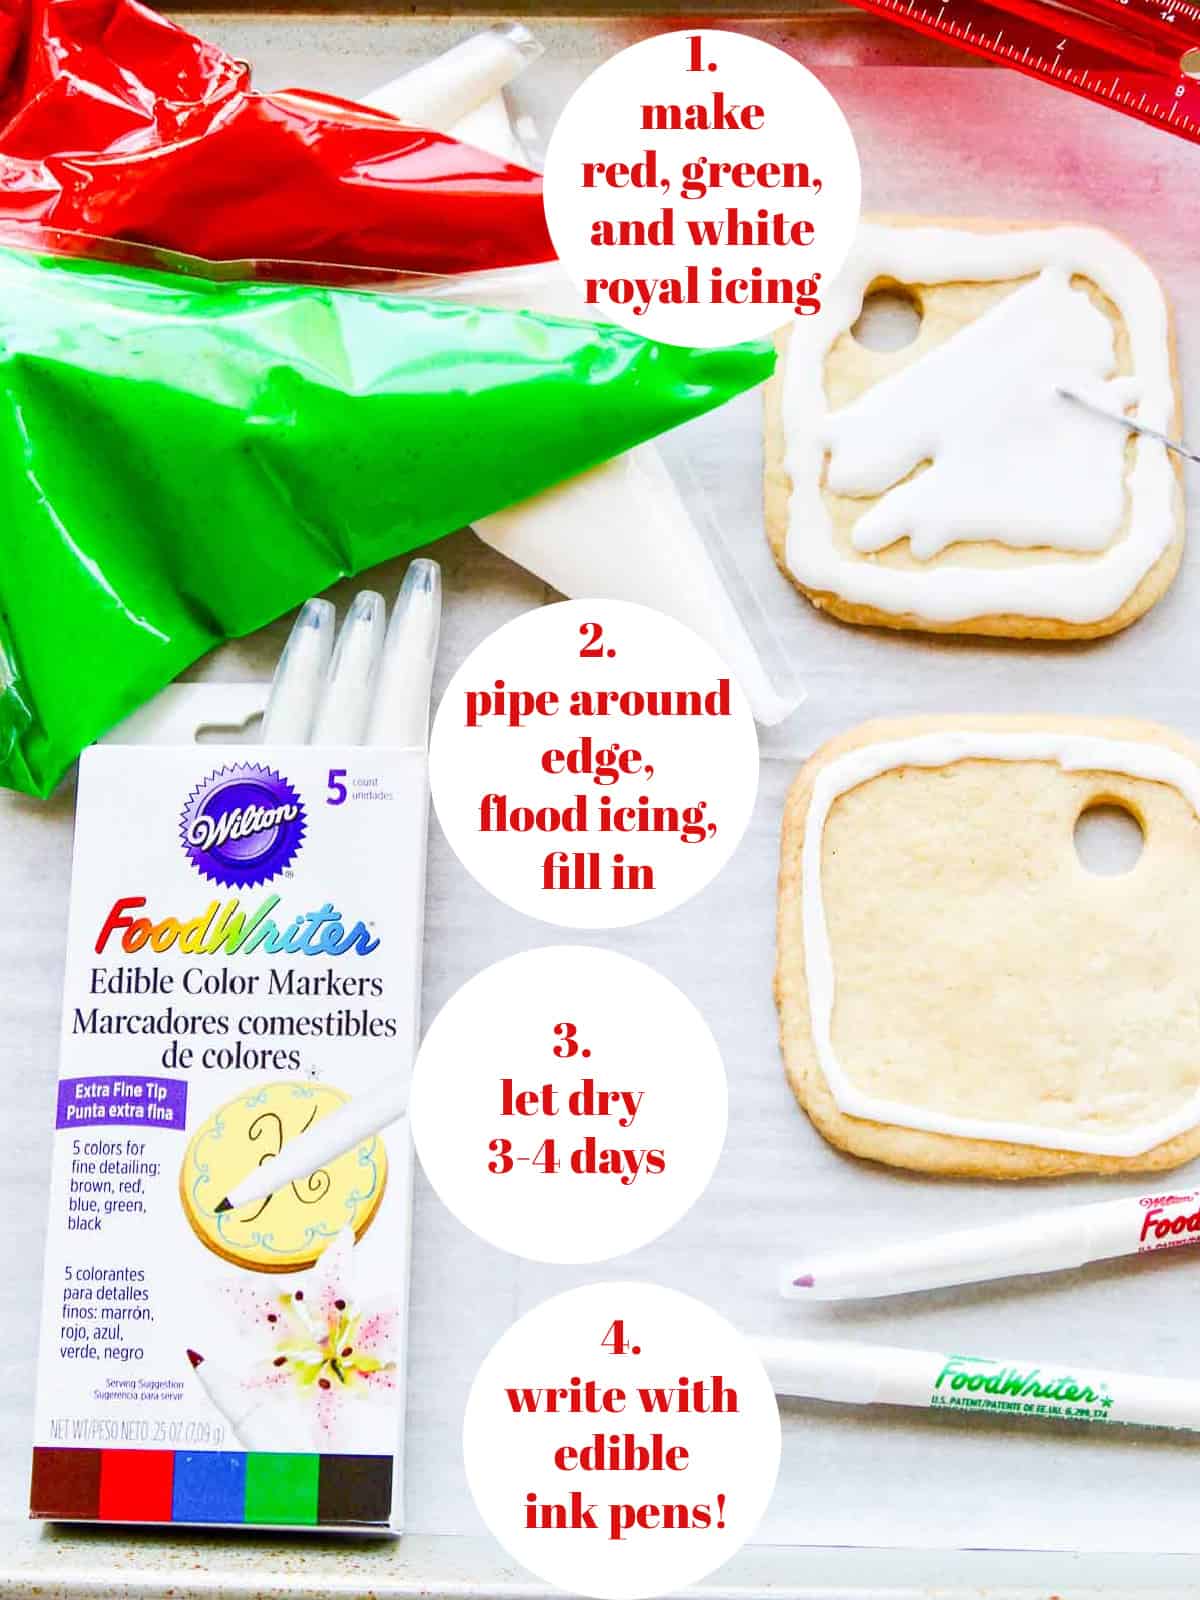
- Fill a small pastry bag fitted with a small tip, and pipe a line around the edge of the cookie. Next, flood or fill in the center, and use a small thin skewer to fill in the icing.
- VERY IMPORTANT: At this point, let the cookies dry completely before writing the wish list for Santa 2-3 DAYS.
- Once the cookies are dry and the icing is rock hard, use colored edible markers, and use a ruler to make the lines that look like a piece of paper, use blue and red pens for this step. Do this part for small children, then let them write the wish list.
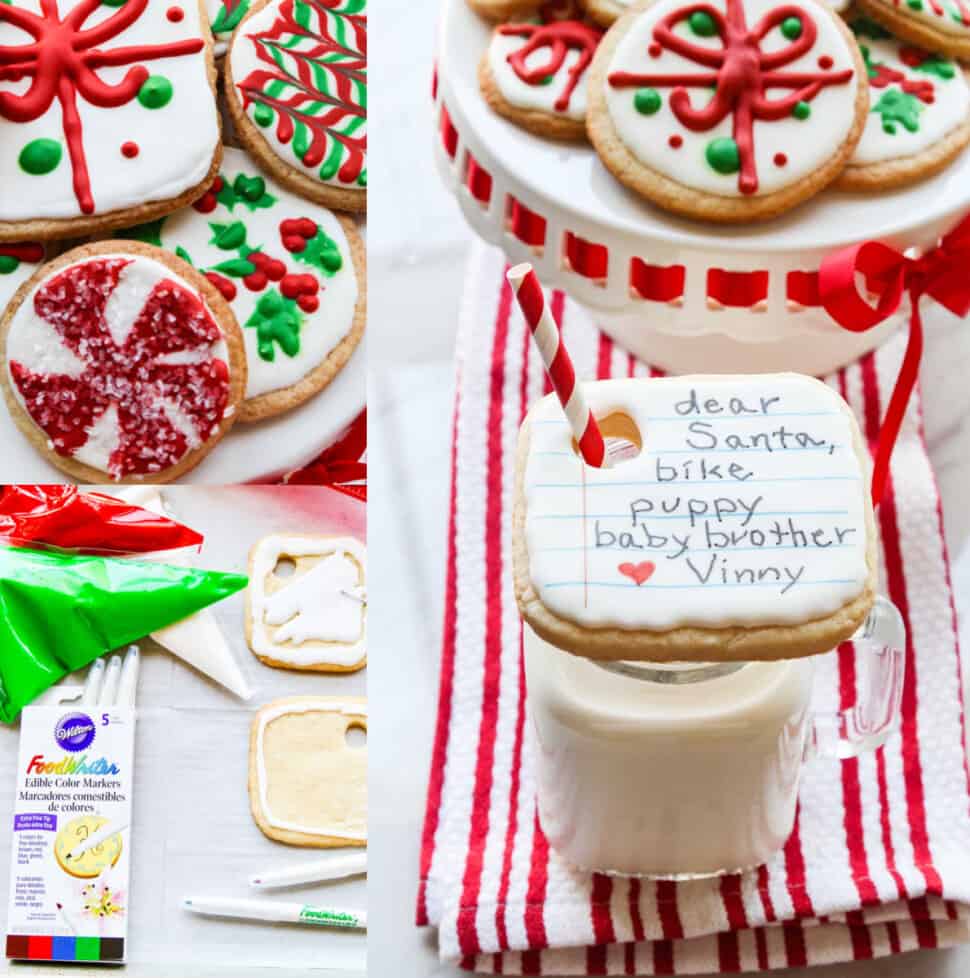
- Place them on them on Santa's plate with an ice-cold mug of milk, add a cute red and white straw and wait for Santa's visit!
- Decorate other cookies with royal icing and sprinkles and create your own holiday designs.
Christmas Cookie Design Ideas
- For the "wish list" cookie, use a blue and red marker to create a piece of paper list, then black to write the list.
- Use red and white to create a peppermint candy swirl design, and top it with some clear sugar sparkling sprinkles.
- Make little gift packages, add some cute dots, and a big red bow.
- Draw alternating lines of red and green, and drag the skewer through to create a fun design that looks like connected hearts.
- Create holly and berries with dots of red and make green holly leaves.

Children have left cookies and milk out for Santa Claus on Christmas Eve for decades.
Some say that leaving cookies and milk for Santa came from the tradition of hanging and stuffing stockings by the chimney, and leaving something to eat and drink was a way to welcome Santa.
It is said that in the 1930s during the Great Depression, cookies and milk for Santa took off as an American holiday tradition. Due to severe hard financial times, many parents wanted to teach their children to give, be generous to others, and show gratitude for their Christmas gifts.
And so the tradition took hold, setting out small plates of cookies and a glass of milk for Santa.

More Christmas Cookie Recipes
Bake these wildly popular Santa’s Peppermint Chocolate Chip Cookies that are "cookie-exchange award winning"!! Loaded with flavors of the holidays, these have candy cane peppermint crunch, milk chocolate chips (or semisweet chocolate chips), and Andes creme de menthe chips. Plus get all my tips for baking even sized cookies using a cookie scoop too!
Shortbread Christmas Cookies are baked with peppermint white chocolate and macadamia nuts, these say Mele Kalikimaka and Aloha!
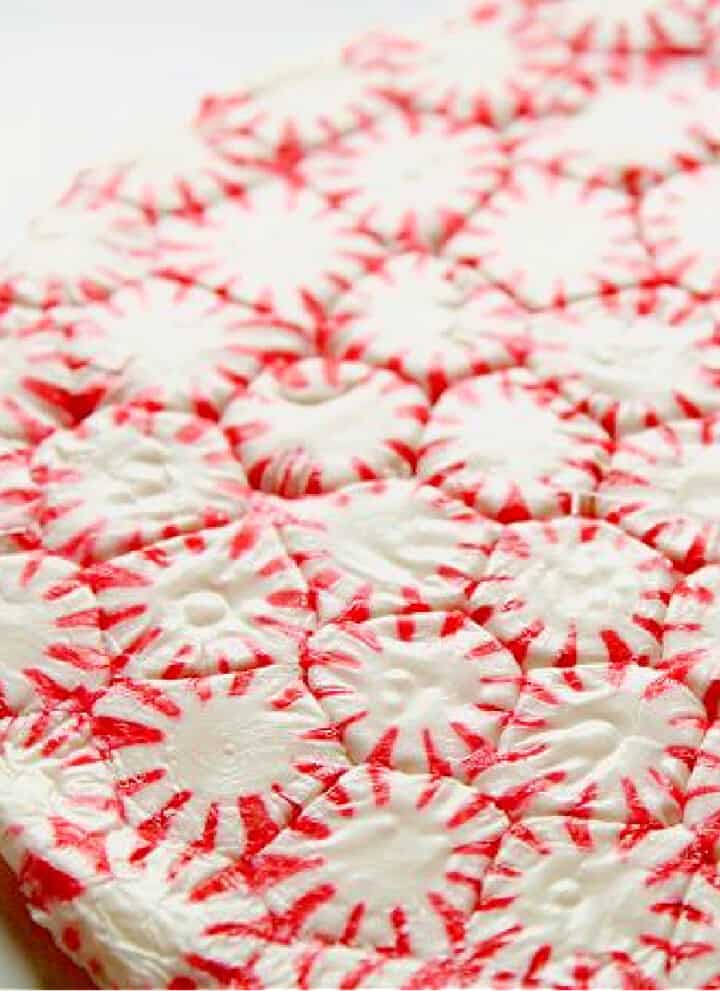
Make a Peppermint Candy Plate in only 20 minutes. Serve cookies, candy, hot cocoa, coffee, tea, festive drinks, or holiday cocktails. Put out for the holidays, or take to a potluck Christmas party.
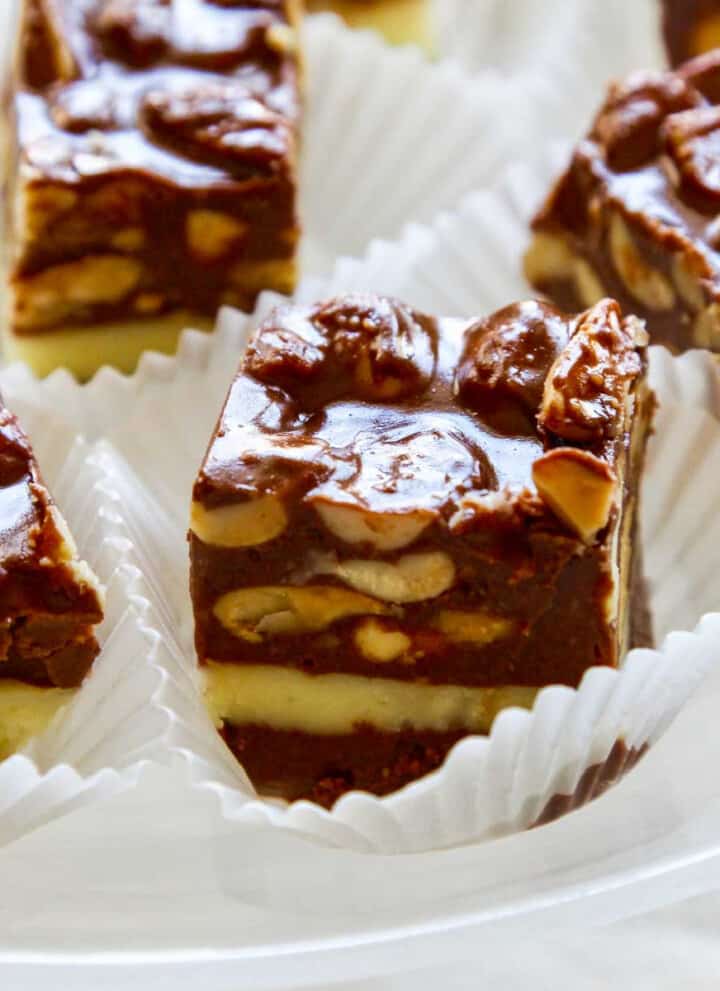
Make Nut Goodie Candy Bars a Christmas family tradition, so amazing with crunchy peanuts and peanut butter.
CRAVING MORE?
Did you love this recipe? We would love to hear from you! If you make this recipe and love it, give it a 5-star rating ⭐⭐⭐⭐⭐ with a comment. THANK YOU!! Follow Delicious Table with my free newsletter and share this recipe with your friends on Facebook, Pinterest, and Instagram.
Santa's Cookies Recipe
Equipment
Ingredients
Cookie Recipe
- 1 cup granulated sugar
- 1 cup butter softened
- 1 large egg or EggBeaters work perfectly!
- 1 teaspoon baking powder
- 2 tablespoons orange juice freshly squeezed from an orange
- 1 tablespoon vanilla extract
- 2 ½ cups all-purpose flour
Royal Icing Recipe
- 2 pounds powdered sugar
- 5 tablespoons meringue powder order online
- dash vanilla clear preferred
- 1 cup (scant) warm water
- Icing Colors red and green
Instructions
Baking
- In a large mixing bowl or with an electric hand mixer, or stand electric mixer, add sugar and softened butter. Mix until combined at low speed.
- Next add egg, baking powder, orange juice, vanilla, and flour. Mix until all the dry ingredients are well combined.
- Wrap dough in plastic food wrap and chill until firm 1-2 hours.
- On a lightly floured surface, roll out dough to ¼ thickness.
- Use a square shape cutter (I used a top from a food container) cut out the square. Next, using an icing decorating tip, cut a small hole in the corner of the cookie for the straw. Place on a parchment-lined prepared baking sheet at least 1-2 inches apart.
- Bake in preheated oven at 400 degrees f, and bake 10-12 minutes until edges are lightly browned.
- Cool completely before decorating.
Royal Icing
- Place all ingredients into the large bowl of a mixer and whip on slow for 10 minutes.
- Keep finished icing covered with saran wrap or damp kitchen towel to keep from drying out.
- Leftover icing can be frozen and used later.
Decorating
- Fill a small pastry bag fitted with a small tip, and pipe a line around the edge of the cookie. Next, flood or fill in the center, and use a small thin skewer to fill in the icing.
- PRO TIPS: At this point, let the cookies dry at least 2-3 days completely before writing the wish list on the cookies for Santa. Place on a sheet pan in the oven with only the light on.
- Once cookies are dry and icing is rock hard, use colored edible markers and use a ruler to make the lines that look like a piece of paper, use a blue and red pens for this step. Do this part for small children, then let them write the wish list.
- And now the best part, have children write their wish list to Santa on the cookies, place on a mug of milk, add a cute red and white straw and wait for Santa's visit!
- Decorate other cookies with colored icing and sprinkles.
Notes
plan ahead
The royal icing takes 2-3 days for the icing to dry before writing on the cookies.supplies
- Parchment paper
- square cookie cutter (or food container top)
- small icing tip
- Wilton Edible Color Markers (craft stores/online - Edible ink pens are easy to find in local craft stores, they are designed to write on cookies!)
- ruler
- small skewer
- plastic pastry bags
- assorted sprinkles and food colors for decorating
- Or place them on a parchment-lined sheet pan on the kitchen counter.
- Don't put them in the fridge, the icing won't dry, and they get too soft.
- The royal icing actually helps keep the cookies the right soft texture as it dries.
- Humidity plays a role in how fast the icing dries and will vary depending on where you live and the weather the day you bake.
- Place a fan near the cookies to speed up the drying process
Christmas Cookie Design Ideas
- For the "wish list" cookie, use a blue and red marker to create a piece of paper list, then black to write the list.
- Use red and white to create a peppermint candy swirl design, and top it with some clear sugar sparkling sprinkles.
- Make little gift packages, add some cute dots, and a big red bow.
- Draw alternating lines of red and green, and drag the skewer through to create a fun design that looks like connected hearts.
- Create holly and berries with dots of red and make green holly leaves.













I have been meaning to leave a comment about these cookies. My mom saw these on your site and ordered all of the ingredients so we could make them with the kids at Christmas this year and we ALL had so much fun making these. Naturally I made them ahead without telling the kids and then we let them write on them and leave them for Santa. It was perfectly magical for them. This will be part of our tradition now. Thank you!